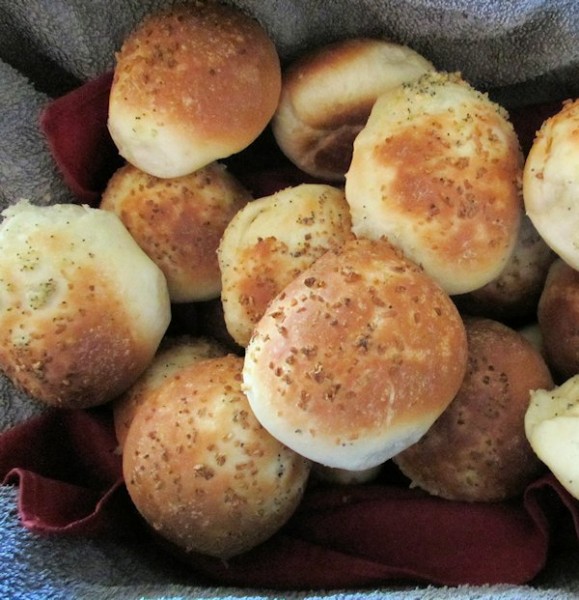
This recipe is a bit different but it definitely isn’t hard. With the ingredients being done by weight, it’s much more accurate. I never have had malt syrup so I add that weight in sugar. I’ve been making these rolls for quite a few years and they’re always delicious. For Thanksgiving, we go to the home of friends and last year I brought these rolls and they requested them again this year.
This is one of my favorite doughs to work with. It’s so silky!
The only hard part is . . the planning. Having them out of the oven just when it’s time to leave is where I struggle. I don’t want them to rise to their peak and need to be baked too early and I definitely don’t want to be late for dinner because the rolls aren’t done. I tried backtracking to guess how long each step would take and it worked out perfectly. We had planned to leave the house at 12:30 and at 12:28, the second batch of rolls were done! I couldn’t have guestimated much better than that!
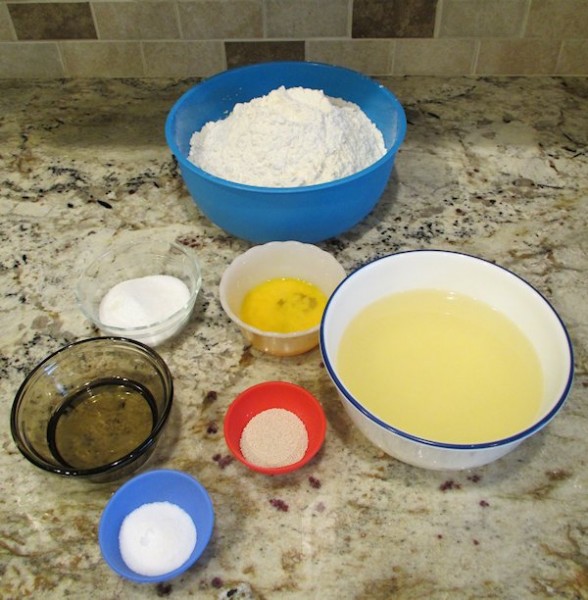
Whatever I’m making, I always get all the ingredients out because otherwise, I’ll forget something!
It was cold enough in the house that the rising was going to be slow so I stuck the bowl of dough in the proofer.
While the dough was proofing, it was time for breakfast. Speck and Rita get scrambled eggs, Vince and I got fried eggs for fried egg sandwiches. I gave most of my whites to the dogs!
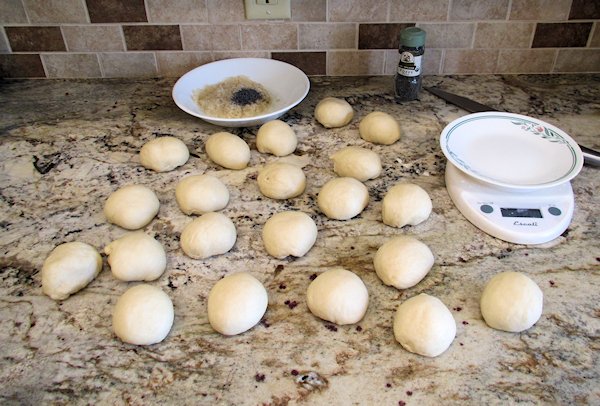
When the dough was ready, each little roll we weighed out . . they all had to be 2.5 ounces. Yes, on Thanksgiving, I was very thankful for these countertops. I will always be thankful to be rid of that horrible tile!
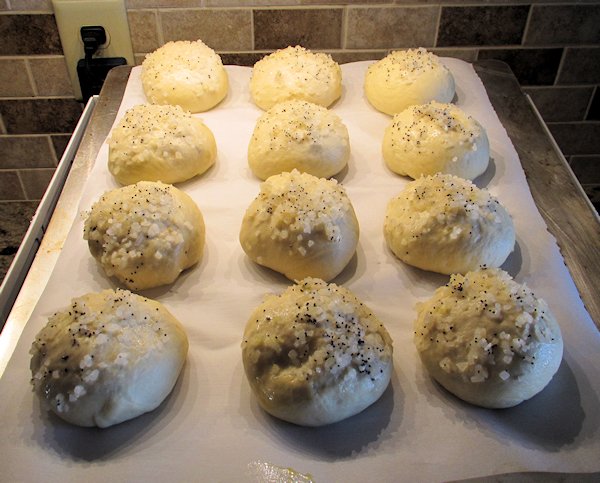
The kitchen was still too cool and the baking sheet didn’t fit inside the proofer so I placed it on top. The warm air rising from the proofer helped a little.
Soon they were risen and ready to bake! Yum!
Sometimes I make these rolls larger and use them for hamburger buns! If you’re a bread baker, you should try these rolls!


Doreen says
Our house is on the cool side, too, so proofing rolls on a larger sheet has presented challenges for me in the past……no more!!!! Get out that trusty(?) old heating pad (or visit your nearby discount store for one of the new ones with automatic shut-off!!!!). Click the pad to Low/warm and set the sheet with the rolls on it on top of the pad. Cover with a cloth (if you wish). This gets the rolls nicely “jump started”. The pad may not be needed for the whole time. Generally, dinner rolls have more yeast & sugar so the raising goes quicker than bread any way. This has worked for me for several years, now!!!!!
Rebecca in SoCal says
Thank you, Doreen! I have used the oven (either turn it on briefly first or include some hot water) since it is draft-free, but this is a way to free it up (and to do the pre-heating).
Claudia Wade says
Mise en place is always a good idea!
Diana says
Looks yummy !! Printed the recipe and gonna try it very soon ! Thank you !!!
Sue S says
Did I miss it or did he not say how long to bake? And boy does he need spell check! LOL! They look delicious, I’m going to try them this weekend.