I’ll be the first to admit that sending projects out to a framer would be a luxury that I wouldn’t hesitate to do IF (1) money wasn’t an issue (2) I only cross stitched a few things per year (which I guess falls back under the if money wasn’t an issue category and (3) I didn’t seem to have the worst luck with getting things delivered.
When I first started thinking about how I would finish the pieces I wanted framed, my thoughts immediately were: Even the best of framers had to start somewhere! My first pieces may look a little “beginner” but eventually I’ll get it right. Of course, those are the same thoughts that I had about machine quilting. I had seen gorgeous quilts that were quilted on a regular sewing machine so I said “If they can do it, I can do it” and started out with a 102″ x 102″ quilt. I never said I was smart! 🙂 By the way, we still use that quilt on our bed and I think I quilted it in 1998. It will never win a ribbon but it makes me smile every time I pass by it. I’ll never forget tugging and pulling and thinking about quitting halfway through it.
Take it all with a grain of salt – I’ve done a total of ONE piece! Credit where credit is due: Denise went before me and I picked her brain a lot so a huge thanks to Denise!
The Frame:
I use Custom Frame Solutions (Denise used them first). There are other places but I’ve only used Custom Frame Solutions.
Measuring:
The first thing I do is decide how much of a margin I want around the stitching. As I mentioned yesterday, that has changed for me since I first started. I use a thin, rayon or poly thread (something that can be pulled out without leaving marks) and run a basting line where I want the piece to fit on the foamcore.
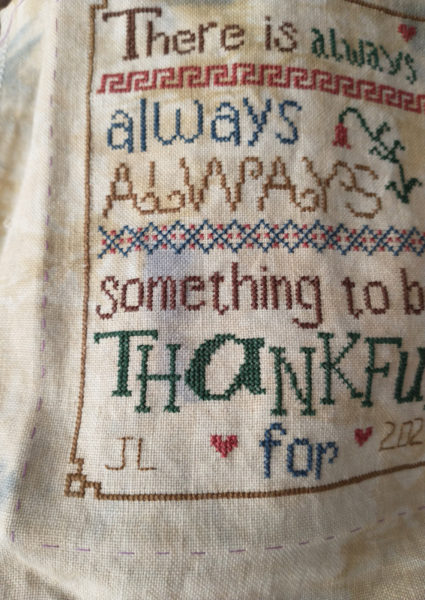
See that line I stitched? That gives me an exact line on which to measure for the frame and it gives me a line to use to be sure the piece is perfectly straight when being laced.
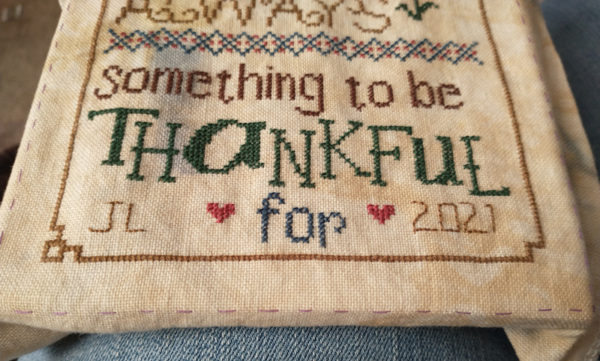
As I was watching videos about how to do the framing, I kept seeing people mark the center, diagonal to diagonal across the foamcore, then lining up the center of the piece with the center of the foamcore. In my opinion (and all those people know way more than I do), the most important thing for me is ot have those borders perfectly straight. By using the basting line, I think it’s way easier to accomplish that and if I get the borders perfectly straight and equidistant from the edges of the frame, the piece is going to be centered.
The “rabbet” is the ledge on the frame that holds the piece in. When ordering from Custom Frame Solutions, it gives the depth of the rabbet.
Say I want to have a 1/2″ “margin (space between the stitching and the edge of the frame) and the rabbet is 3/8″, then if I want my frame to be 4 x 6 (measuring basting line to basting line all the way around, then I also need to add 3/4″ al the way around (3/8” x 2). Don’t get bogged down in the math – draw it out. It’s easy and will make perfect sense.
Hopefully this will not confuse you but I put my basting line exactly where I want it to fold over the edge of the foamcore so if I want the piece to have 1/2″ margin and then I need 3/8 extra for the rabbet, I put my basting line 7/8″ from the edge of the stitching. I get the foamcore cut by Custom Frame Solutions so it’s a perfect fit.
These pictures may help:
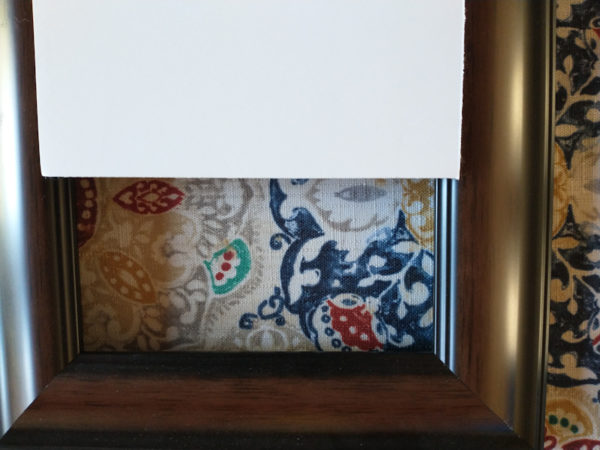
You can see that the foam board is a little wider (and longer but you can’t see that in my photo) than the opening of the frame.
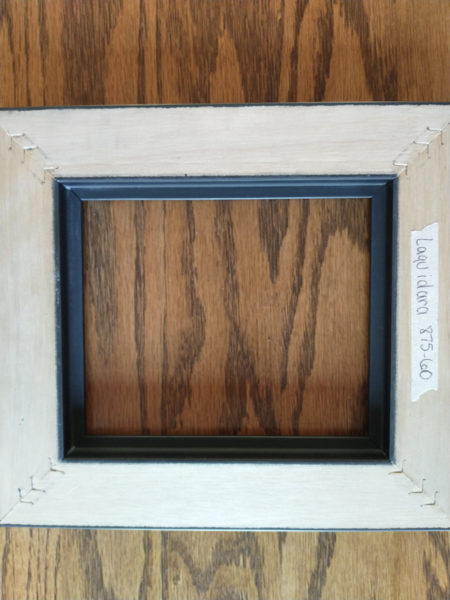
You can see the “rabbet” (the ledge that holds the picture in the frame).
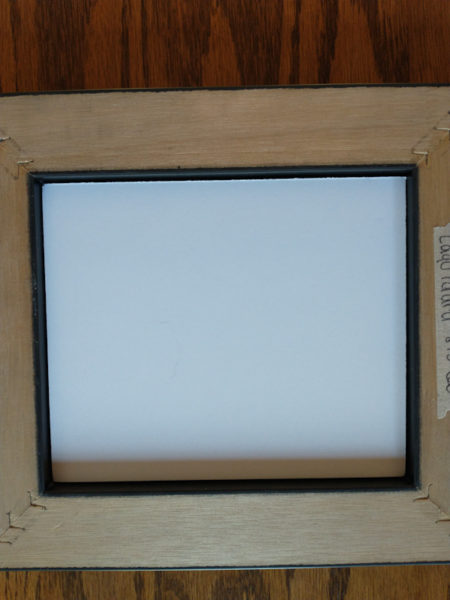
You can see the foamcore, which will soon have the cross stitched piece laced onto it, fits perfectly in the “hole” in the frame.
So, to order:
- Measure the exact size you want the opening to be. This includes the margin you want around your stitching.
- Add in for the rabbet space.
Example: Let’s say my cross stitched area is 4″ x 6″
I want 1/2″ margin on each side and the rabbet is 3/8″. I will add 1″ all the way around for the margin (outside border not stitched) and I will add 3/4″ for the rabbet (two sides x 3/8″) so I will order a frame that is 5-3/4″ x 7-3/4″.
Batting:
I cut a piece of batting that is exactly the size of the foamcore and glue it to the foamcore using acid free glue. By the way, I’m using acid free foamcore.
Lacing:
I use DMC perle cotton, size 8, for the lacing.
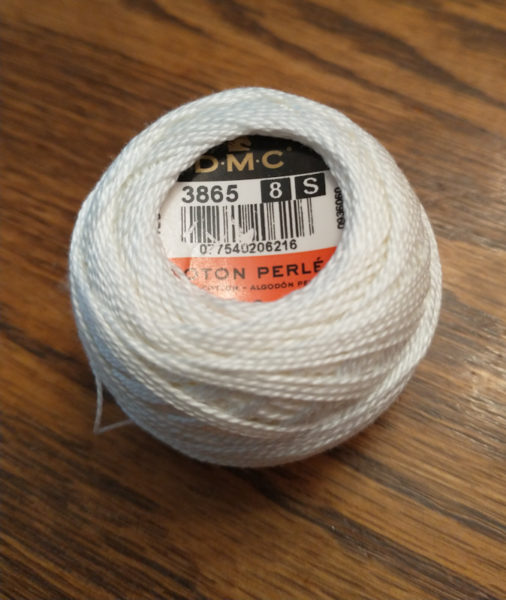
After placing the piece over the batting and positioning it where I want it, I first pin the piece all the way around, sticking the pins through the center edge of the foamcore. Then I begin the lacing process.
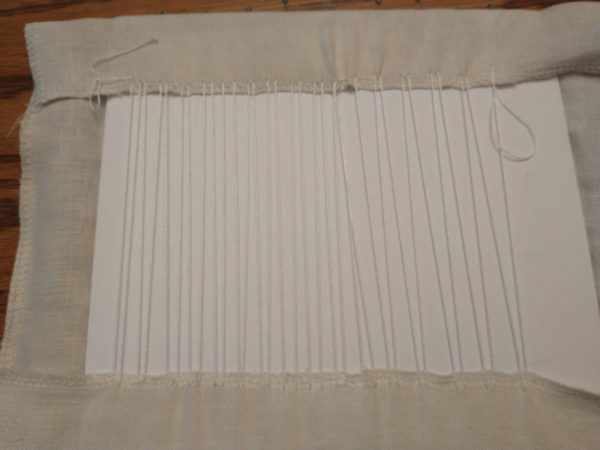
I lace top to bottom or left to right, then do the other sides. In some videos I watched, they mitered their corners. I didn’t on this first piece and I think it worked fine. I may try it on the second piece.
Once the piece is laced and I’m happy with it, drop it into the frame!
Finishing:
I cut a piece of cardboard the exact same size as the foamcore and placed it over the back of the piece. I ordered this cardboard from Amazon. It isn’t like we don’t have a ton of boxes around here but this is a perfect thickness and easy to cut.
Also, Denise had recommended this point driver. I’m not sure I would have been able to drive the points in by hand so I was happy to have it. Well worth the money!
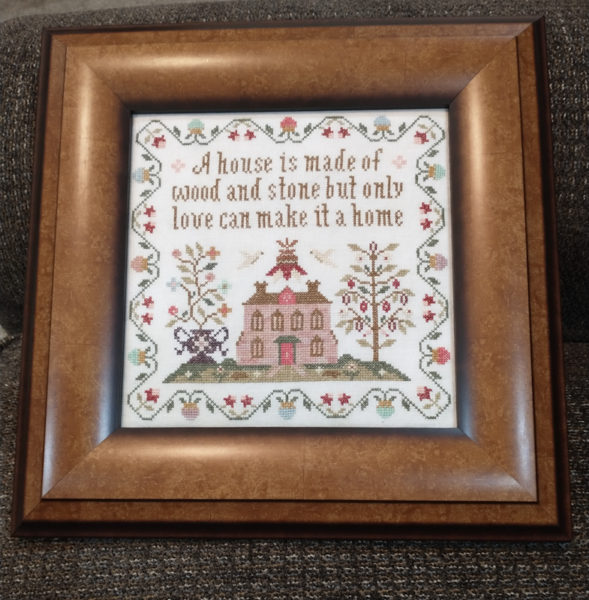
In a nutshell, that’s basically what I did with my first piece that I framed.

Elle says
Outstanding description of the work that goes into doing this. And I really do love this piece!!!
Back when I was stitching and framing, I used a sticky foamcore so I didn’t have to do the threadwork. I have no idea if that is still available. Not sure I’ve stitched this century.
Judy Laquidara says
It is still available.
Joyce says
Would you be willing to show us the back of completed framed piece? I would like to see the frame points…
Dottie Newkirk says
Looks great!
Verna A. says
Beautiful!
Danielle says
I think I will order all the supplies – have them sent to your home – and then send you my pieces to finish! Beautiful job! Looks very very professional!
Judy Laquidara says
I would do it but I detest going to the post office to mail things so you’d have to come here to get it back. 🙂
Helene says
Thank you for this detailed description and all the pictures. It makes sense and surely I can do it too. The best news is “I get the foamcore cut by Custom Frame Solutions so it’s a perfect fit.” I’m working on Hands on Design Memorial Day and that will be my test piece. Eeks!
Rebecca says
You order the frame by the size of the rabbet?! How bothersome! It would be so much easier to order by the size of the opening, and deal with the finished size (including the depth of the rabbet) once you’ve decided!!
Judy Laquidara says
No! You order the frame by the size of the print/piece you’re framing but if a frame has a 1/4″ rabbet or a 3/8″ rabbet and you don’t have much margin/border, it could look very crowded. Just another thing to take into consideration. You are basically ordering by the opening but a 4 x 6″ opening has to account for the rabbet space or it will cover up some of the stitching if the stitching is all the way to the edge. It isn’t hard at all and the rabbet size is given on each frame so it’s just one more thing to check.
Rebecca says
Oh, I see. Thank you for explaining it!
Judy Laquidara says
I may not have explained it well and in so many things, I think I make things sound harder than they are. This is probably one of those times.
Cherie Moore says
Great information, Judy! Thank you for taking the time to go over everything so clearly. I’ve laced a few pieces before but struggled to keep the square and straight….using the lines as you have done should help tremendously!