These are not hard to make but they’re kinda hard for me to explain so don’t be frustrated by the number of words and pictures. If something seems confusing to you, please just take one step at a time and do it before worrying about the next step.
Step 1:
Fabric 4: Cut 20 – 3-1/2″ x 5-3/4″ rectangles.
Fabric 1: Cut 20 – 3-7/8″ squares. Cut those on the diagonal once to yield 40 triangles.
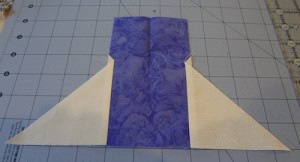
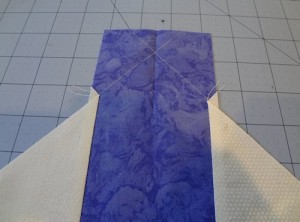
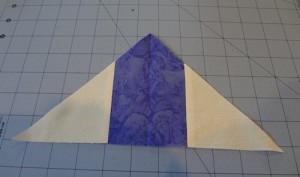
Sew a triangle to each side of the base of the rectangle as shown below. Make 20.
When pressing them, divide them into 8 “pairs”. (Stick the remaining 4 aside to be used on the corner triangles.) In each pair, press one with the seam allowances going towards the center strip and press one with the seam allowances going towards the outer triangles. This will help when putting the blocks together.
Trim the center (Fabric 4) to a point using one of the following methods (or whatever works for you).
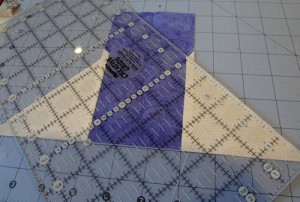
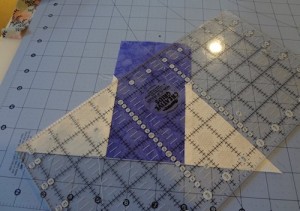
One way to trim the center point is to line the 45 degree line on your ruler up with the bottom of the piece. You would cut along the edge. I’ve drawn a line instead of cutting.
Do the same thing on the other side.
I have drawn lines but remember . . you would be cutting.
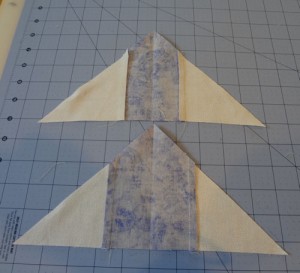
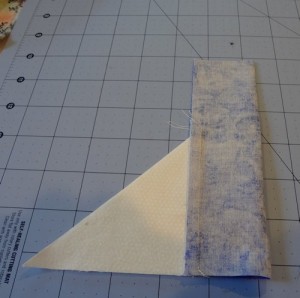
Another way is to fold the whole unit in half with the fold going down the center of the Fabric 4 rectangle.
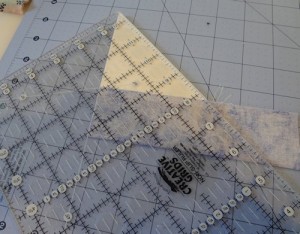
Align the ruler with the edge along the angled Fabric 1 edge, and the 45 degree line along the bottom edge (which is the left edge in this picture).
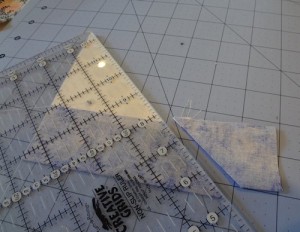
Trim the edge off the Fabric 4 rectangle.
You should end up with a perfect piece!
Keep the 4 for the setting corner triangles set aside for now. We will work with 16 for the side setting triangles.

Susan says
Pictures and explanation seem clear to me. Curious. Is it a bad idea to line up a triangle ruler and trim both sides?