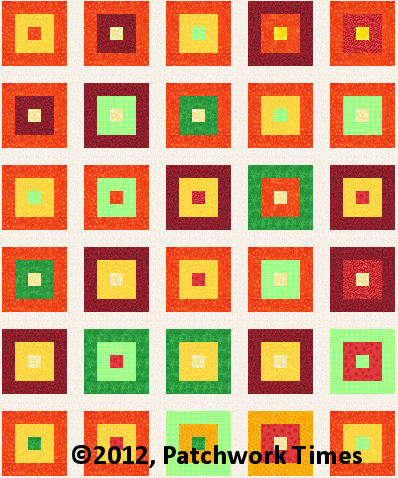
All your blocks are done, right? Time to add sashing.
For the above version, from the background/sashing fabric, you will need:
- 49 – 2-1/2″ x 8″ rectangles
- 20 squares that are 2-1/2″ unfinished. You can make these any size you’d like. I would probably make the center 1/2″ finished (1″ cut) and make the next round 1″ finished (1-1/2″ cut).
For the above version, from the background/sashing fabric, you will need:
- 24 – 2-1/2″ x 8″ rectangles
- 5 – 2-1/2″ x 46″ strips for the sashing rows
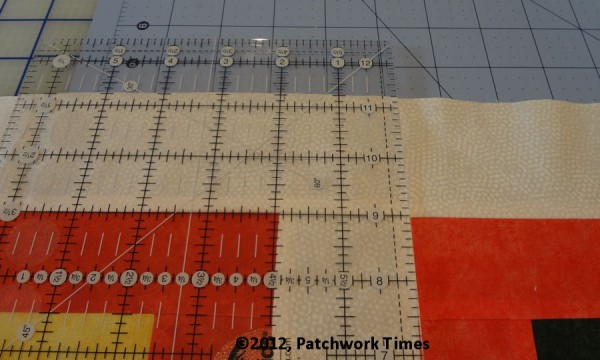
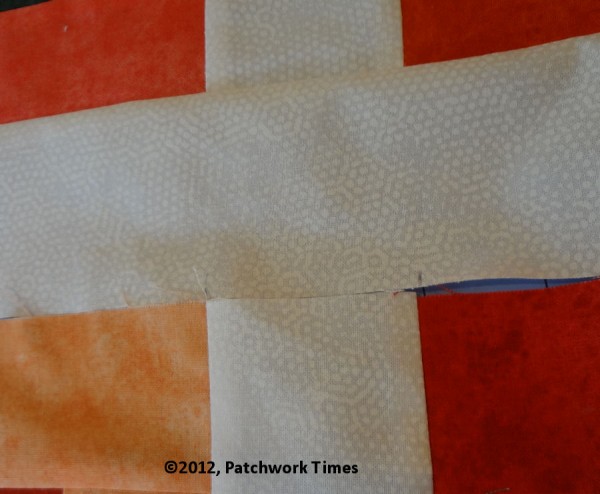
When adding the sashing rows between the pieced rows and there are no sashing blocks, it’s real easy to get things off and that makes the quilt look crooked. Carefully mark the sashing fabric so the blocks all line up. Here’s how I do it. Once I’ve added the first sashing row, I align the horizontal line on my ruler with the seam line where the sashing row joins the block row. I align the vertical lines with the sewing lines where my sashing pieces are sewn to the blocks.
Then when attaching the next row, align the marks with the seam between the sashing pieces and the blocks.
Then comes the first border. The side pieces are cut 3-1/4″ x 55-1/2″.
The top and bottom borders are cut 3″ x 51-1/2″.
The next (and final) instructions will be posted Tuesday.


Quilter Kathy says
That’s a great tip for aligning rows with sashing…thanks Judy!
Pam says
Totally agree!
pdudgeon says
Yikes! i’m sooo behind. but yesterday i had to plant petunias and today the microwave blew out, maybe i can catch up this weekend again.