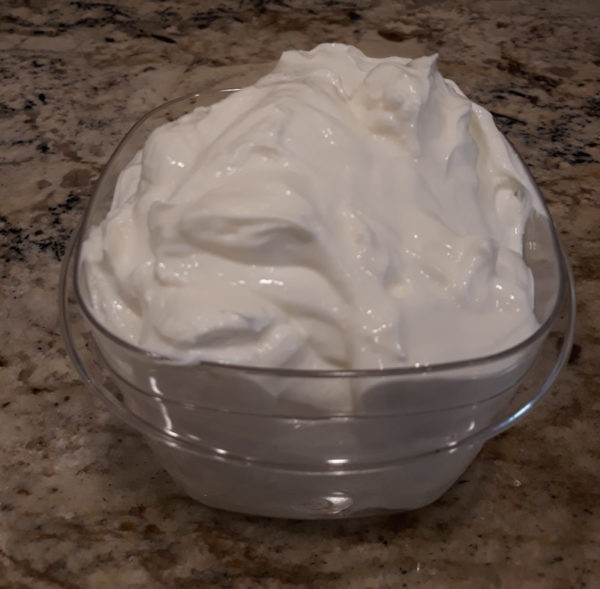
Through the years, I’ve made yogurt in a variety of ways. I don’t even remember when I started making it but found a blog post from 2009 when I was making it on top of the stove, then later made it in a slow cooker, then I bought a small Cuisinart yogurt maker. I loved it but it didn’t make much yogurt. At some point, I found a recipe for making yogurt in the Instant Pot and that changed my yogurt making. I wrote this blog post back in 2017 and that’s when I was still heating the milk, cooling the milk, adding the culture and so on.
If using storebought, pasteurized milk, I skip the heating the milk prior to adding the starter. Mother Earth News has instructions for pasteurizing milk here.
These days, I simply pour milk (make sure it isn’t ultra pasteurized milk) into the pressure cooker, add a few tablespoons of the previous batch of yogurt as the starter, hit yogurt and let it do its thing.

I try to not be the person who says “you HAVE to do this!” but that’s really what I want to say because homemade yogurt is the most amazing thing and I just can’t get enough of it. We use so much of it. If you’re on the fence about the health benefits of yogurt, simply google “health benefits of yogurt” and find hundreds of sites that talk about the health benefits of yogurt.
The ways we use yogurt:
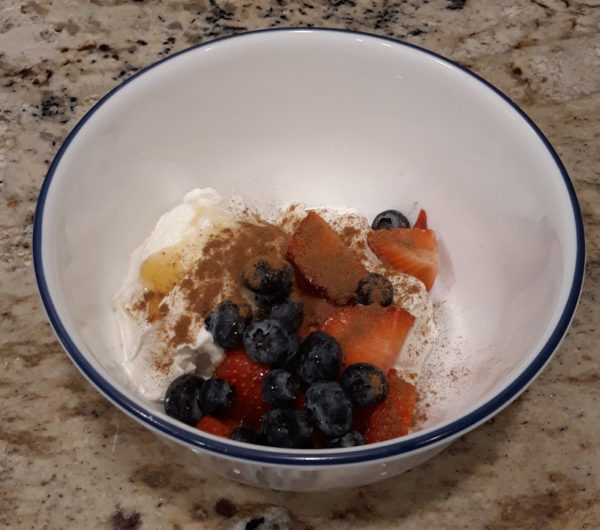
- As a snack – add honey if desired, add fruit, nuts, chocolate chips, chia seeds – anything you want to add. Yogurt with fruit and nuts is always with me on my trip to and from Missouri.
- In a smoothie – add to fruits, greens, whatever you include in your smoothie.
- In place of sour cream – we haven’t bought sour cream since I started making yogurt. It’s perfect in soups, on baked potatoes
- As a base for creamy salad dressings. Here’s a post I made in 2017 about some of the salad dressings I make using yogurt.

It’s really this simple:
Start with a clean pressure cooker. I sometimes put water in it, secure the lid, hit steam for 10 minutes or so. That should sterilize the cooker. Mostly I clean the inside with Bar Keeper’s Friend, spray it with antibacterial kitchen spray, rinse it and rinse it again. Don’t want that stuff in your yogurt.
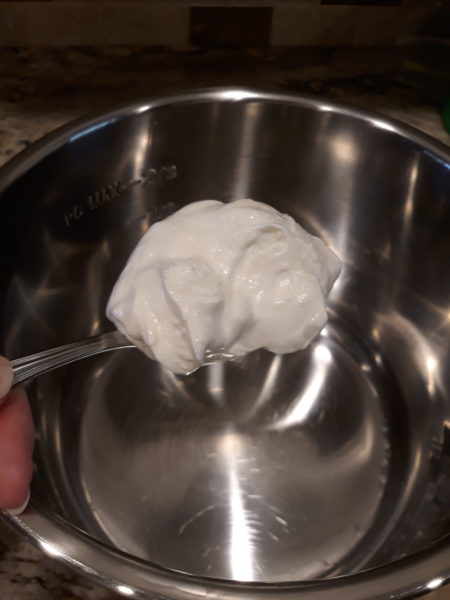
Pour about half a gallon of cold milk (I use whole milk) into the cooking insert. Add a couple of tablespoons of yogurt from the last batch, whisk the yogurt into the milk. Use as much or as little milk as you want but add more or less starter if using more or less milk.
I’ve read that a fresh starter should be used every so often but I’ve gone for months and months using the same starter and never had a problem. The only time I start over with a fresh (storebought yogurt) starter is when I’ve gone a couple of weeks without making yogurt but we make yogurt every two or three days so I rarely feel like my starter has gotten old.

Hit the “yogurt” setting on most of the newer electric pressure cookers. You can then adjust the time for the culturing process. Less time makes a less tart yogurt; more time makes a more tart yogurt. I think most units default setting is 8 hours. I have mine set at 7.50 hours for a bit less tartness.
You do not have to use the big pressure lid. You can use either a plate or purchase a lid that fits over the 6 quart pots. There are also lids that can be purchased for other size pots but I use a plate or just cover it in foil if using the 8 quart pot. There’s nothing wrong with using the pressure cooking top but if the gasket has absorbed any odors from cooking other foods, that can transfer to your yogurt.
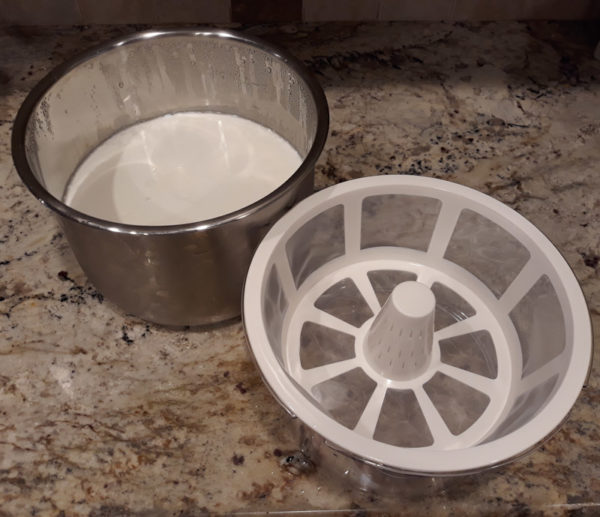
This is the strainer I love.

The whey that strains out can be used for baking breads, for making a drink similar to lemonade, as a starter for fermenting other foods but my chickens love it and get so excited when I go out with a container of whey for them. I also sometimes pour it around my blueberries and magnolia for adding a bit of acid to the soil.
Cultures for Health recommends using a culture no older than 7 days for re-culturing (starting a new pot of yogurt) and they say yogurt kept in the fridge is good for two weeks.

Vince and I are ready for our afternoon snack – a bowl of yogurt with fruit and a bit of cinnamon.

Tee says
You don’t heat the milk up first? I always thought you had to do that to kill off any bacteria that was in the milk, whether pasteurized or not. It is a bit of a pain, heating it up and then cooling it down, so I might try it your way.
Judy Laquidara says
Don’t take my word for it but I don’t heat the milk up any more.
Cultures for Health has this as part of their instructions for using raw milk: The initial step of activating the starter requires heating the milk to 160ºF, to pasteurize it. If you prefer to use pasteurized store-bought milk instead, you can.
I take that to mean if I’m using pasteurized milk, I don’t need to heat it, so I’ve been skipping that step but again, I urge everyone to do their own research and not take my word for it.
Nelle Coursey says
That looks good!!
Sandi B says
I’ve been making yogurt in the InstantPot this past month. I like a really tart, thick yogurt, so I increased my time to 10 hours, then strain it overnight. Our health-challenged dog gets the whey.
It’s so good!
Susan Nixon says
Just tell me this. Is it as good as Noosa yogurt?