Two things to remember please!
- All blocks from previous months, as well as other details can be found by clicking on the Tell it to the Stars button on the right sidebar.
- There is a “Print Friendly” button in the lineup of buttons at the bottom of every post. You can remove as many of the photos and/or text as you would like before printing.
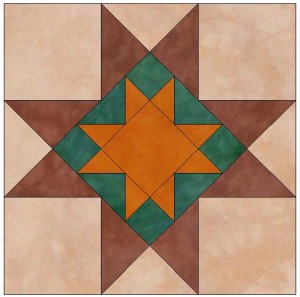
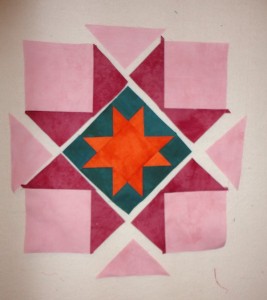
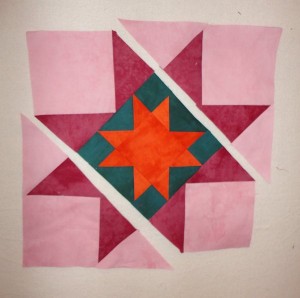
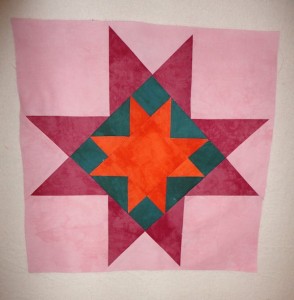
The block we will be making for March is this, which is called “Rhode Island”. As with the previous months, the block is 12″ finished and you will make two. The block is not hard but it’s different. There are some bias edges so take your time, cut accurately, sew accurately, press with care and no complaining! 🙂
Also, there are some eighth inch cuts. They aren’t hard . . just takes a little more time. Also, this is one of those blocks that took a whole lot more words than it should have so please don’t be intimidated by the length of the instructions.
Beginning with the center star:
Fabric 2, cut:
- 8 – 1-7/8″ squares
- 4 – 2-7/8″ squares, cut on the diagonal once to yield 8 triangles
Fabric 5, cut:
- 2 – 3-3/8″ squares
- 4 – 3-1/4″ squares, cut on the diagonal twice to yield 16 triangles
Fabric 1, cut:
- 8 – 4-1/2″ squares
- 2 – 5-1/4″ squares, cut on the diagonal twice to yield 8 triangles
Fabric 6, cut:
- 4 – 5-1/4″ squares, cut on the diagonal twice to yield 16 triangles
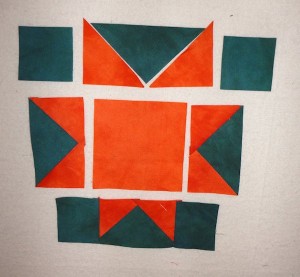
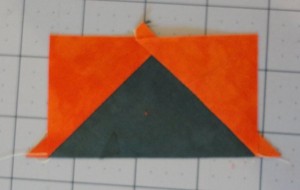
Start by laying out the Fabric 2 and 5 pieces. Make 8 flying geese.
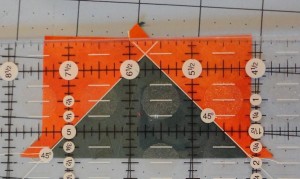
These will probably need a little trimming.
Unfinished, they should trim up to 1-7/8″ x 3-3/8″.
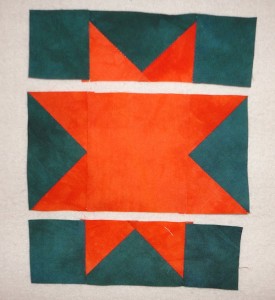
Sew a flying geese unit to opposite sides of the 3-3/8″ squares. Make 2.
Sew a 1-7/8″ square to both sides of a flying geese unit. Make 4.
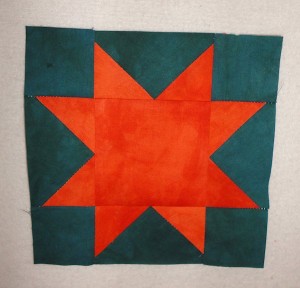
Sew those pieces to the top and bottom of the 3-3/8″ square to complete the center of the block. Make 2.
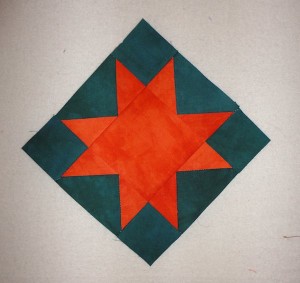
Turn the block on point.
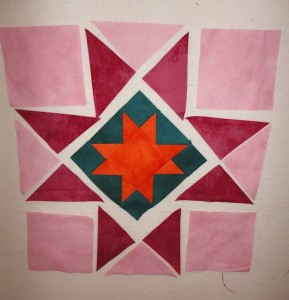
Lay out the additional pieces.
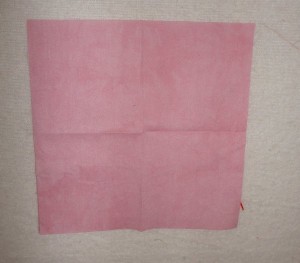
Using the 4-1/2″ squares, fold the square into quarters (in half and then in half again), finger crease so that you have a horizontal and a vertical line intersecting in the center of the square.
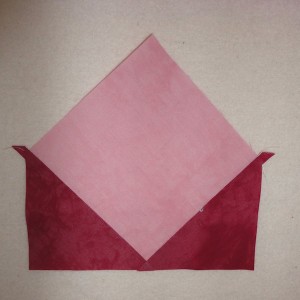
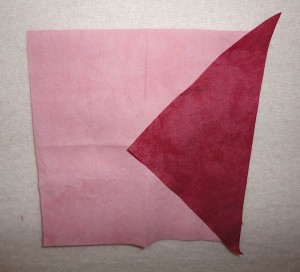
Using the Fabric 6 triangles, you’re going to sew them to two sides to create 8 of the following segments.
The easiest way to get the pieces aligned perfectly is to place the long edge of the triangle along one edge of the square and have the triangle point line up with the finger pressed line.
Sew the seam, then press, then sew the second triangle to create the segment.
Two of the units will go onto opposite sides of the center star. Make 2. The remaining units will have a Fabric 1 triangle sewn to the sides as shown. Make 4.
Sew the final sections on to complete the block. Make 2.
If your January and February blocks are done, please share a picture. On Wednesday I will draw for the winner . . who will receive a Stash Pack from Vicki Welsh’s Etsy Shop. When you need (or want) hand dyed fabric, please remember Vicki . . who sponsors this Mystery.

Sue H says
Thanks! I love this block.
Bev/mo says
Hi Judy,
Where can I find the directions for the Feb star block, please?!
Bev
kathy pfaltzgraff says
Neat block Judy, is there a way you can tell us the size of the center star, unfinished, of course? Thanks, Kathy.
Bev/mo says
Thx Judy, My I Pad does not show right or left side bars…thats why I questioned where I needed to go.
Bev
Susan says
Thanks, Judy. That looks easy enough. This is going to be a beautiful quilt, once again.
Bev Gunn says
Printed and going into folder-hope to be able to start mid-year after some other projects are cleared out! Loving the blocks and going to do a scrappy version! Need my “round tuit” to start rolling! 🙂