Please forgive the pictures. I’m trying to take pictures, hold linen and the camera and I only have two hands . . dang it! 🙂 This method may have been used since time began but I have not seen it shown and I came up with this method to avoid having the pin stitch come loose, which has happened several times.
Nicola from Hands Across the Sea has a very clear video of how to do a pin stitch. There’s another way that I make mine so I’m hoping you can see from the photos. If not, please ask questions.
NOTE: Do not cut the tail as Nicola shows!
Please also note that this will seem much more difficult than it is. Please just try it a few times with scrap linen and floss.
Let’s start with my crude drawing. When I make a cross stitch, I bring my needle up at 1 and down at 2, at 3 and down at 4 and I have an “X”.
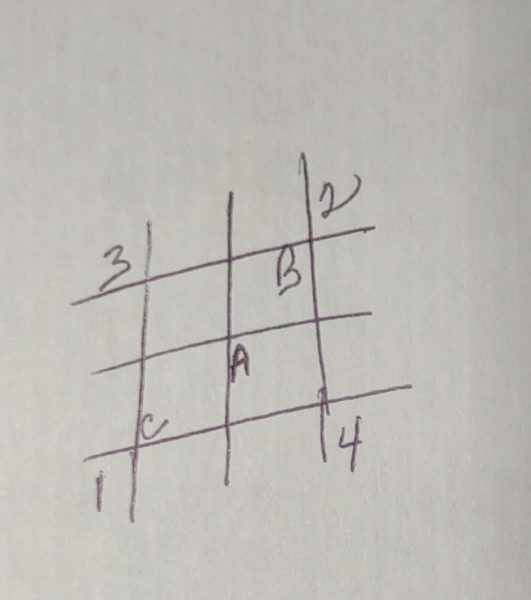
To make a pin stitch, from the top, I go down from the top to the back at A and leave about a 1-1/2″ tail. Hold that tail snugly with your fingers. Then I come up at B from the back and go down through the top to the back at A, piercing the thread from the initial stitch. I come up at C from the back to the top, then go back through A from the top to the back, again trying to pierce the thread in that initial stitch. This is the point where normally you would test to be sure your threads are secure and then snip the tail. DO NOT SNIP THE TAIL.
From the back to the front, bring your needle back through the B hole. Loop your thread around the tail and then pull your needle back down through the B hole.
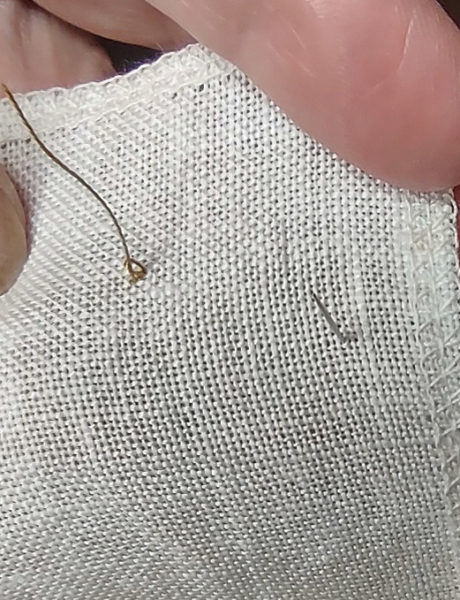
This should bring the tail to the back side. (See that loop around my thread? That’s the tail. Simply stick your needle in it and pull it to the back.) Leave the tail long and catch it as you’re stitching the remaining stitches.
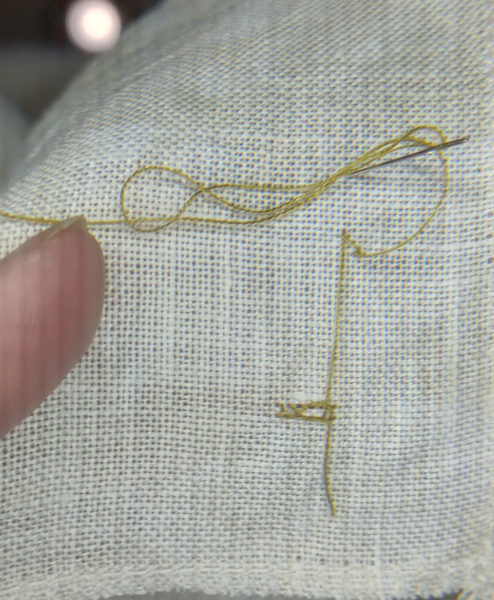
In the above photo, the thread hanging towards the bottom is the tail that has been caught in a few stitches. The left stitch is that first stitch and I worked my way towards the right, catching the tail with each stitch. The thread going to the top is my needle . . I have more stitches to make.
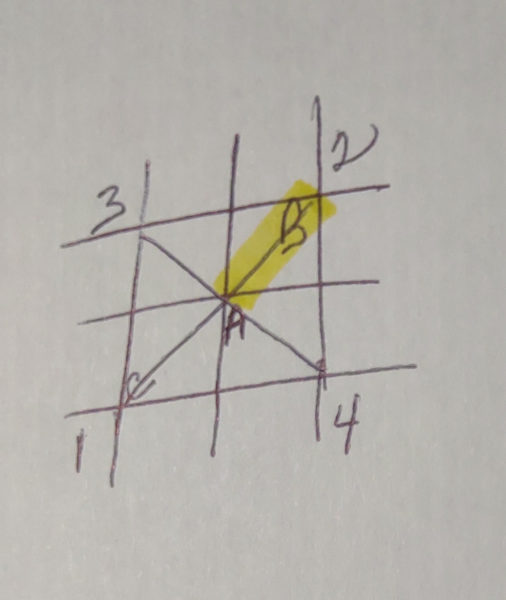
This method means that the highlighted leg of the stitch will have two strands of floss and the remainder of the stitch will be one strand. It does not show once other stitches are made.
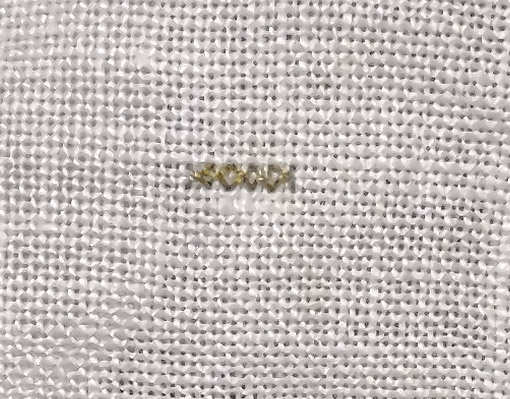
The stitch on the left is the one that has the double floss in that top right quarter of the stitch.
I have had instances where, even though I always check my pin stitch to be sure it’s secure, if I’m making more stitches around it, I will accidentally pull it out and with it cut so snugly, there is no floss left to “fix” it. I feel much more confident that none of these stitches are going anywhere with this modified pin stitch.
Again, if this isn’t clear, please ask questions. I wish my photos were better or that I could make a decent video but I hope this helps.

Carmen says
I like the idea of puling the tail to the back and catching it to secure. I’m always a little uneasy that the stitches will hold!