Since I see Addie today and since Thanksgiving is just a couple of days away, it’s a good thing I got this little pillow finished.
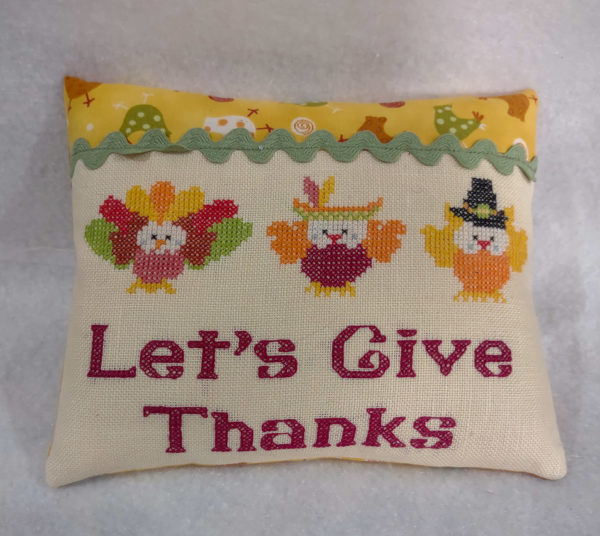
The last pillow I made, I put right sides together (backing, front with a piece of fabric underneath it) and sewed around all four edges, leaving about a 3″ opening for turning and stuffing but then I was hand stitching through all the layers.
This time, I chose the backing fabric. Since Addie loves her chickens, I used a chicken fabric.
I cut the backing the same width as the top but made the length (top to bottom) longer. I didn’t measure, just cut two pieces the same size as the top.
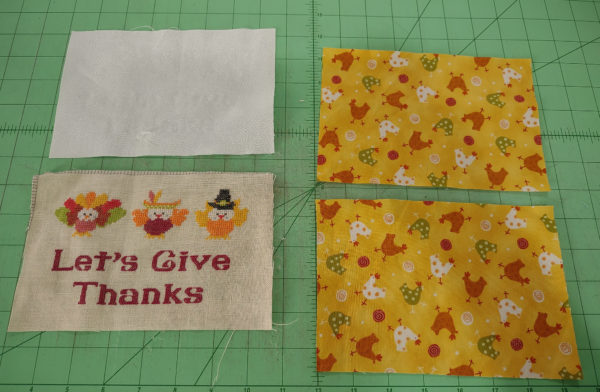
Next, I put the backing pieces right sides together and sewed them, along the long edge, leaving an opening.
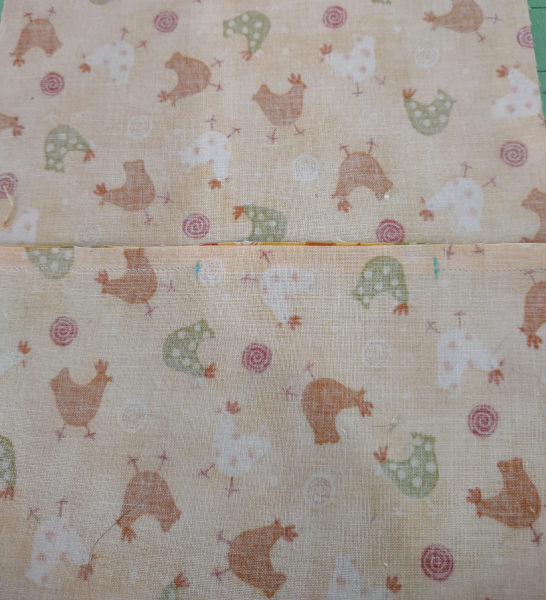
I just eyeballed it and didn’t mark it but added the marks so it would be easy to see in the photo where there was an opening.
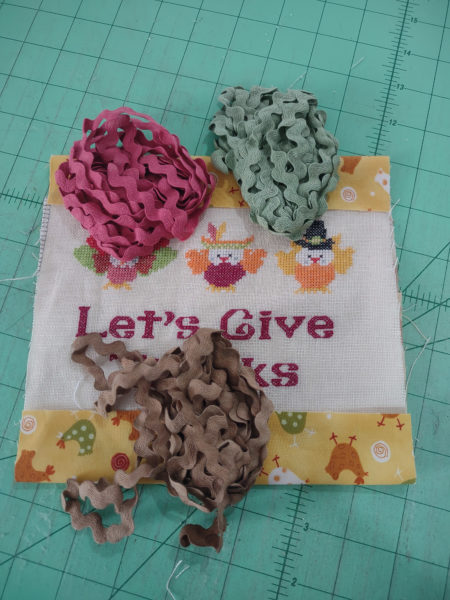
For a moment, I considered leaving the backing showing on the top and bottom but decided to only leave it at the top. I auditioned several colors of rick rack and chose the green.
Next, I decided how much of the backing fabric I wanted showing at the top, pressed that fold line, then trimmed the excess fabric off the bottom, positioned it so the side and bottom raw edges were together, right sides together, stitched all the way around.
I turned it through the opening in the back.
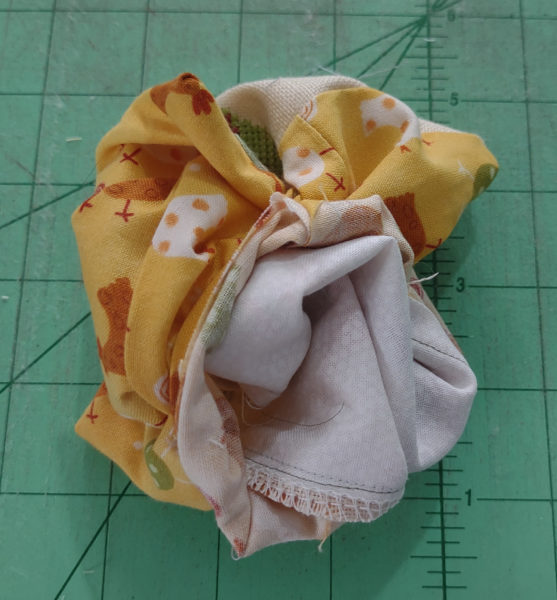
After stuffing, that left the opening in the back to be sewing closed. It was much easier sewing through cotton fabric than sewing through the backing, the linen and the extra layer of white cotton fabric.
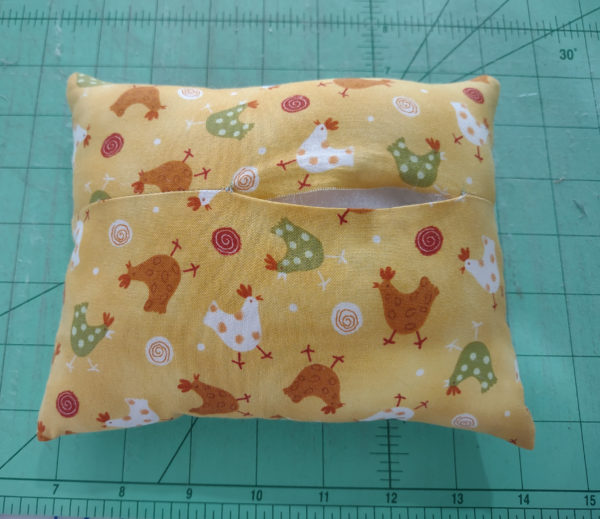
The End! I hope she loves it.

Linda B says
Adorable! She is going to love it! Can’t wait to see the Christmas pillow.
Teri says
Absolutely darling
Cheryl says
That is adorable! I’m sure she will love it!
Laura says
Looks fabulous!
Helen says
She will love it and the fact that YOU made it for her.
Cindy F says
That pillow is just darling! I know she’ll love it!
Shari says
Great idea for sewing the back. She will love it!
Nelle Coursey says
I know she is going to love this and treasure it for years! I also like the green rickrack.
Rebecca says
-Clever idea, opening at the back. I noticed the green rick rack and the chicken top border. Very cute!
Kathy says
Very creative and great idea to use the backing (and rick rack) as a trim.
Rosalie says
Your fabric choice was perfect!
Twyla says
What is not to love about this little pillow? Now you need to get her a container for all the pillows you will be making her.
judy.blog@gmail.com says
I got her a dough bowl. It isn’t huge but it has room for a couple of pillows and other little decorations. I had bought her some felted ghosts and pumpkins for Halloween to go with the pillow in her dough bowl. She told me she loves it so much, she still has it out.
danielle says
Still learning how to do all these newfangled finishing, so I have questions. Why do you add the extra fabric behind the cross stitch? So many others show just using iron on facing. Could you have done it by stitching the fabric on to the top and bottom of the cross stitch, and then using just one piece for the backing? Or is that more fiddly to do?
I love how you finished it – and I think the fabric you chose was perfect! I am sure Addie is going to love it!
judy.blog@gmail.com says
I think we all do things differently and there’s no right or wrong way. Yes, a strip of fabric could have been sewn to the top and/or bottom and then a backing added. That would have added more steps. I didn’t have a plan when I started. I thought I was going to sew a back to the front and then add pom poms or chenille to the edges using the gun.
I add a piece of white fabric to the back of the pieces I frame so I guess I’m in the habit of adding it to everything. It probably isn’t necessary to add it with the interfacing but I probably always will add it.