First, I’m not sure how all this would work with other stands so if you aren’t using the same stand that I’m using, maybe the pictures will at least help you come up with an idea . . if you’re needing an idea.
The stand I’m using is the Lowery Stand. This is exactly what I was looking for in a stand!
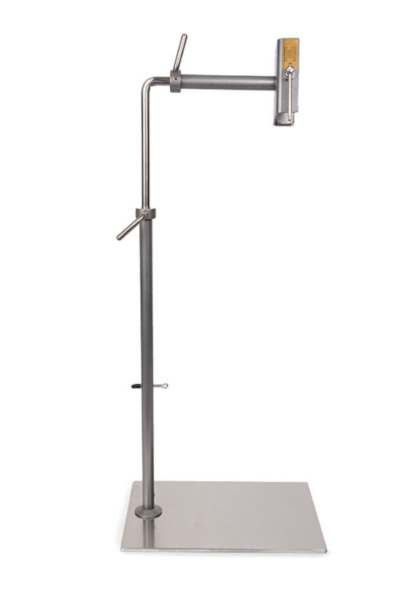
Please don’t think I’m pounding this stand into your head . . a reader asked for more pictures.
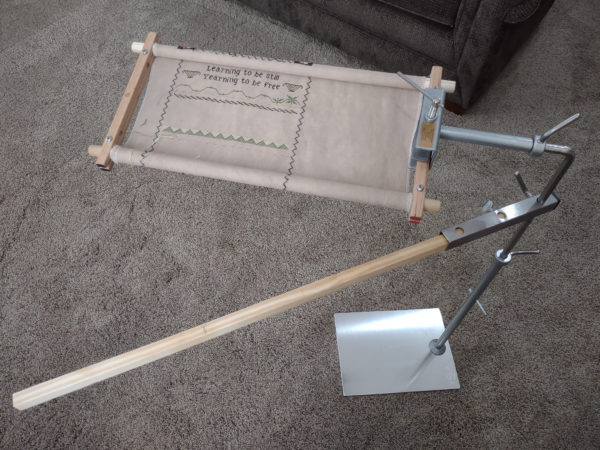
The light bar is the metal piece I ordered here.
This is what it looked like when it arrived.
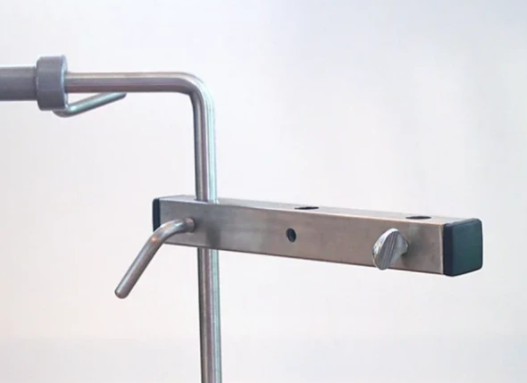
Vince popped that black rubber piece of the end (the one on the right side in the photo) and stuck a long piece of wood in there and then tightened it with the thumb screw. The board is a piece of yellow pine that Vince ripped off a larger board. The size that fits up in the metal hole is 3/4″ square. There’s some “stuff” in that metal bar or a 1″ square board would fit.
The board started off as a 6″ wide board and Vince ripped it. It’s actually what he was using to finish the inside of the shop. If you come across any construction site, you might asked for a piece of scrap because you definitely don’t need a lot of wood or . . you can come by our burn pile because there’s a lot of this in there now.
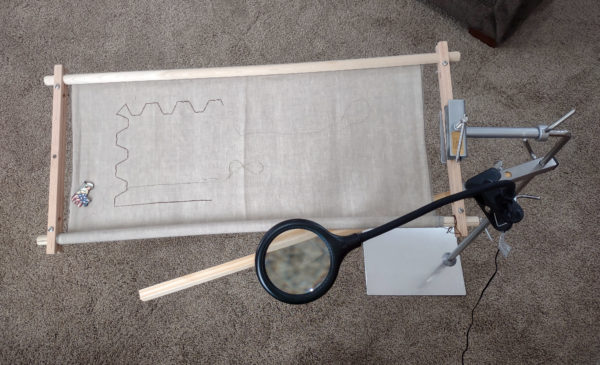
I switched out my much longer (and much neglected) Pet All Dogs project and you can see that the board doesn’t look nearly so long with that monster on the frame.
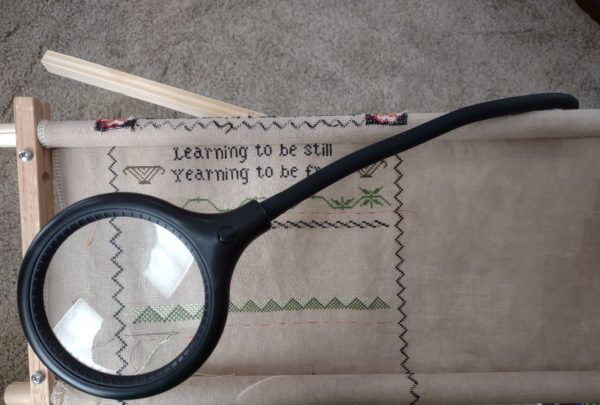
Depending on your preferred stitching method, you can have the light bar behind your work with the light hanging over from the back or you can have the light bar in front of your work with your light hanging over from the front. I have mine in the front.
Since I stitch with both hands, I have the light bar in front and rest my right arm on that and my right hand is doing the work on the underneath side of the piece.
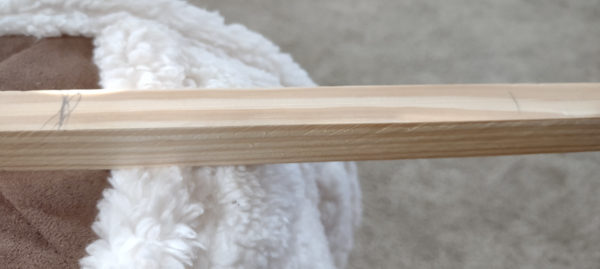
If you can see the two pencil marks, the one on the left is 15″ from where the wood slides into the metal bar and the one on the right is 9″ from where the wood slides in. The one on the right is for 18″ frame which is what I’m using for A Changed World. Any frame smaller than that, or maybe a 12″ Q-Snap (if they make that size), I could just use the metal light bar without the extension.
The mark on the left is the length for the 28″ frame I’m using for Pet All Dogs and I think that’s the largest frame I have and probably about the largest frame I would use on the Lowery stand.
I do have the long frame adapter which I could use, though I haven’t tried it yet. It is currently sold out at Fire Poppies but you can add your email to be notified when it’s back in stock if you want it. This little gizmo solves all the problems if you’re comfortable using it.
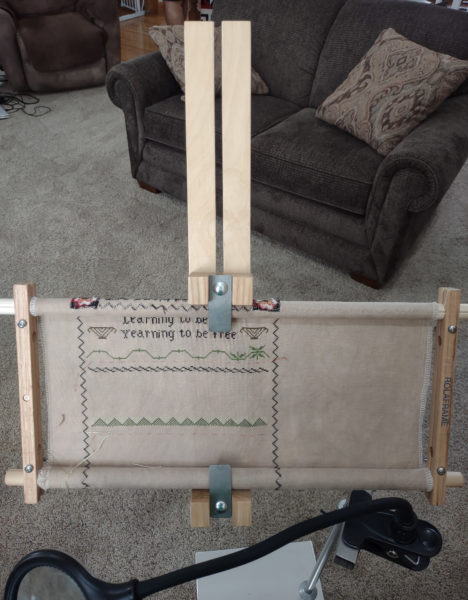
You simply slide that adapter around so nowhere is very far from the light. In fact, with this thing, my light is almost too long!
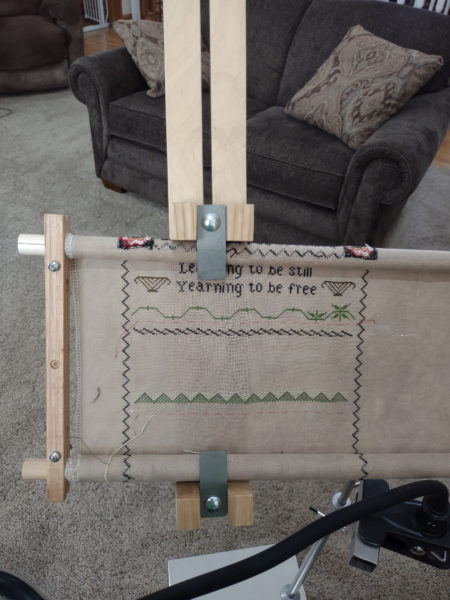
This Lowery frame, with all the available attachments is close to perfect!
Now . . the lights! This is the one I’m using and the one shown in the photos. I also have this one that is battery powered and re-charges from a USB.
I also have this Halo charger so if you’re going to stitch longer than the battery will last, you have some backup power.
I’m sure this is overkill but you know how I am. If the power is out and I’m dying to stitch, I have a couple of these solar chargers that I try to keep charged, as well as multiple little battery backup bank chargers.
If anyone has questions or needs more picture, just let me know.


Cindy F says
Love this!!! Very ingenious! Thank you so much for the updated post! I will need the light bar but I’ll wait to see how the other light fits. I only cross stitch in one location so I don’t need multiple set ups…not yet anyway! lol