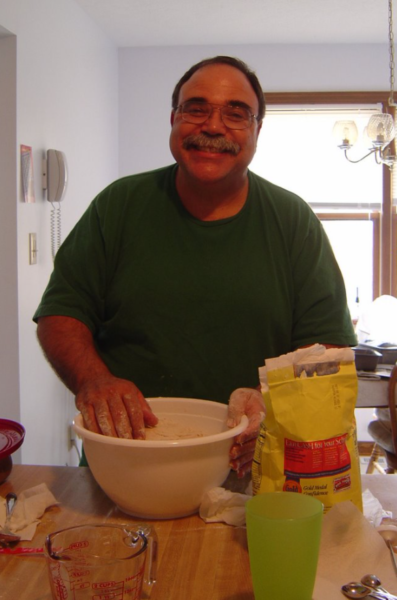
It was in 2003 when I started making salt rising bread. In fact, here’s Vince making salt rising bread in 2005.

There are so many things that strike me funny about that picture.
- Vince cooking.
- Vince at the little house in town in Kentucky.
- The phone on the wall.
- Even in 2005, Vince was wearing green T-shirts.
Vince loved the bread. It grew on me. I now love it also. It makes the best toast and is so good for sandwiches.
It’s hard for me to make it during the cooler months because even with the light on in the oven, our house stays cold enough that I can’t keep the starter warm enough. I have a proofing box that I could use but we’ve just learned to enjoy salt rising bread in the warmer months and we’re fine with that. I was thinking this morning – the sous vide may be the answer to keeping the starter warm enough year round.
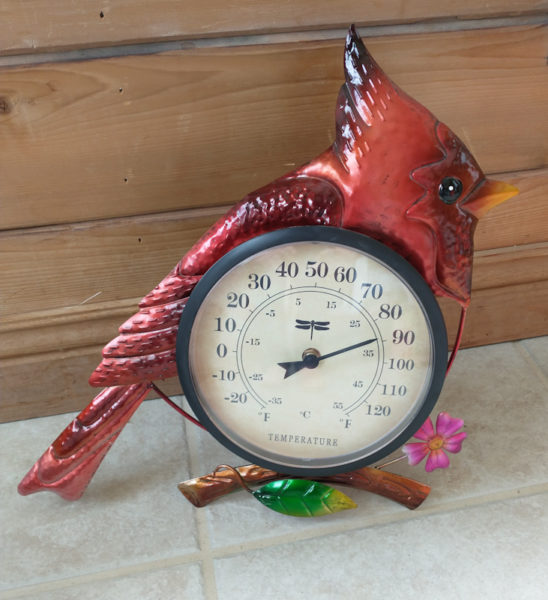
For now (mid afternoon), it’s close to 90 degrees in the sunroom. I’ll set it up with the sous vide for the night.

The name is interesting because salt is not a leavening agent. According to Wikipedia, the salt is not responsible for the rising but it is thought the starters were kept warm on a bed of hot salt.
King Arthur has a recipe that uses milk and no potatoes. I haven’t tried that one but it’s an option if someone wants to try it. They just call for “cornmeal”. This is another recipe and it says any old cornmeal will work and you can use cornmeal OR potatoes. Years ago when I began researching it, everything I saw said whole grain cornmeal (NOT de-germinated cornmeal should be used. This website quotes the Fanny Farmer Baking Book and says you DO have to use a cornmeal that has not been degerminated. I have no idea what’s right but I will continue to use a whole grain cornmeal.

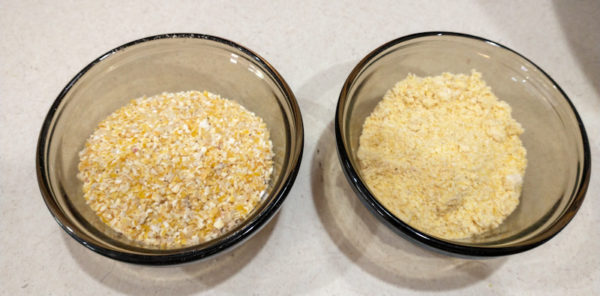
Because cornmeal that has not been de-germinated isn’t easy to find, I bought a bag of whole grain War Eagle grits and ground them a little finer to make them into cornmeal.
Here’s the recipe I use, as copied from a 2012 blog post.
This is the only recipe I’ve used and we like it so I stick with it.
1. Peel and slice 2 medium or 3 small potatoes. There’s no real specific amount because the potatoes get dumped in the end.
2. Pour 1 quart of boiling water over the potatoes.
3. Stir in 1/4 c. non-degerminated cornmeal, 2 T. sugar and 1 tsp. salt. Read the labels to find a non-degerminated cornmeal. Whole grain or stone ground cornmeal should be non-degerminated but you really need that germ.
The cornmeal isn’t going to dissolve or anything . . it will still be there.
4. Place the potato bowl inside another bowl and pour boiling water in the larger bowl.
5. Place the bowls somewhere so they’ll stay as warm as possible. I put mine in my electric oven and leave the light on.
6. Leave the mixture brewing for 24 hours. Replace the hot water in the outer bowl 3 or 4 times during that 24 hours.
After a while, foam starts to appear. The magic is working!
Leave it alone for a little while longer and more foam forms and now it smells like stinky cheese or . . toe jam!
7. Fish the potatoes out, making sure to leave as much of the cornmeal in the liquid as possible. This is you starter. Flush the potatoes down the garbage disposal. They stink!
8. Scald 1-1/2 cups milk. Pour the milk, the starter, 1/4 teaspoon baking soda and 4 cups flour into a large bowl.
9. Stir all the lumps out. I sometimes use a whisk.
10. Cover the bowl with plastic wrap. Place this bowl back in the warm place and leave it til it looks like thick clotted cream. It will definitely have the stinky cheese (toe jam) smell! Don’t let it sit too long. It can take anywhere from 1-1/2 hours to 3 hours, depending on how warm your area is.
Here’s the rest of the steps:
11. You may need a bigger bowl. I can use my Bosch mixer but my Kitchen Aid isn’t large enough for this. Into 4 cups of flour, stir in 7 T. shortening, 2-1/2 tsp. salt. Use a fork or your fingers, like you would if you were making a pie crust.
12. Stir the sponge into the flour mixture. Continue stirring and adding flour as necessary. Turn the dough out onto a floured surface and add more flour as needed. I use a total of about 6 cups of flour in this step. This is a very heavy dough.
13. Divide dough into three balls. I will freeze one or two at this point. I wrap the dough that’s going into the freezer in greased plastic wrap, then seal in a bag using the Food Saver.
Whichever ones you’re going to bake, shape into loaves. Place in greased pans. Cover lightly with greased plastic wrap and return to the warm place. I put mine in the oven with a pan of hot water.
14. When rising is done, remove plastic wrap and bake at 350 for about 40 – 50 minutes.
