Quilters! We can do this. We can help and we really need to do it now and do it quickly. Now that the CDC is recommending masks for everyone, quilters can make a huge difference.
Yesterday a friend sent a link to a New York Times article about cloth facemasks. Please at least read down to “If you’re lucky enough to know a quilter . . “
I’ve made probably a dozen different mask patterns or variations and I’m sure most of the one I’m making now came from one or a combination of those patterns but I’m working in conjunction with a nurse practitioner from a hospital in Louisiana and this is the pattern I’m making.
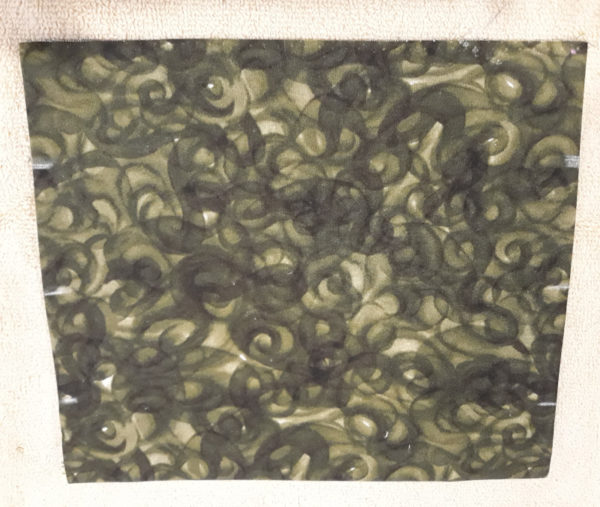
My pictures are not great. I chose a fabric that’s too dark but I’m trying to get 6 more masks finished today. Maybe I’ll take better photos tomorrow.
Remember – these are not meant to be heirloom pieces. Get them made and get them in the hands of someone who can use them.
Please let me know if something isn’t clear or if there’s a better way to explain.
There is a “pocket” in the back and I am not providing filter material. I figure therein lies the potential for liability so they’re on their own with a filter. For the ones I’m sending family, I’m telling them a couple of folded paper towels are better than nothing.
These masks are two layers because the medical folks I’m working with in Louisiana feel the three layers get moist too quickly. Also, they do not want elastic. It does not hold up to washing in hot water and sanitizing. They want something that will bend around the nose and I’m using plastic twist ties which I get from Pleasant Hill Grain. You get 2,000 for $8.99 and shipping is reasonable. Looks like they may be getting yeast in soon! 🙂
Here’s my pattern:
Requirements:
1/2 yard of fabric will make two masks
1 plastic twist tie
Thread
Cutting Instructions:
This will give you two masks:
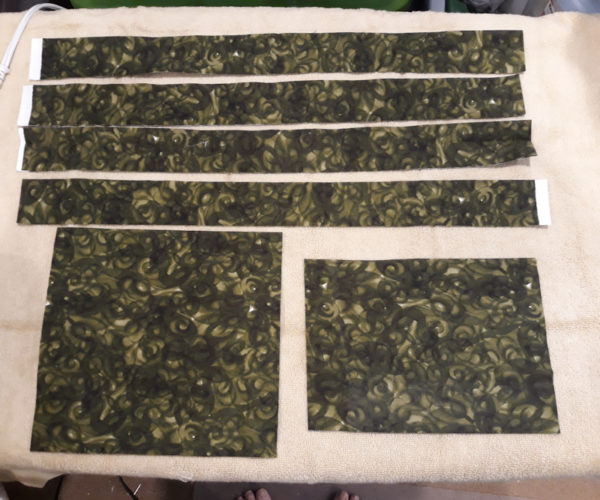
With fabric folded selvage to selvage, cut one 9″ x width of fabric strip and 4 1-7/8″ width of fabric strips.
From the 9″ strip, cut 2 pieces that are 9″ x 8-1/2″ and two that are 9″ x 6-1/2″.
Sewing Instructions:
Use 1/2″ seam allowances except when sewing on the binding.
Place one 9″ x 8-1/2″ and one 9″ x 6-1/2″ right sides together. You’re going to be sewing along one 9″ edge. Mark 2″ in on either side. Sew from the left edge to the left pin. Then leave the middle open. Sew from the right pin to the right edge. (This is the opening for the filter pocket. NOTE: After a few masks, you may want to just eyeball it. It doesn’t have to be perfect. We’re just establishing the opening for inserting a filter.
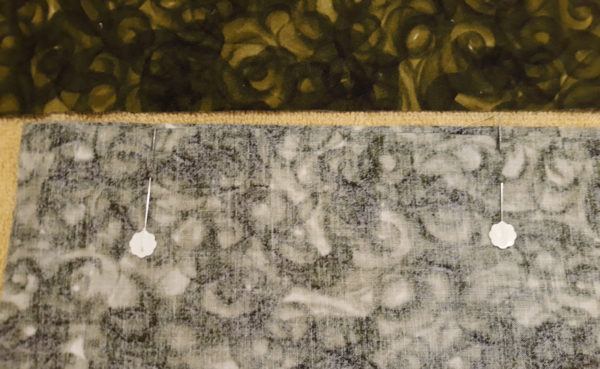
Open it up and press the seams open.
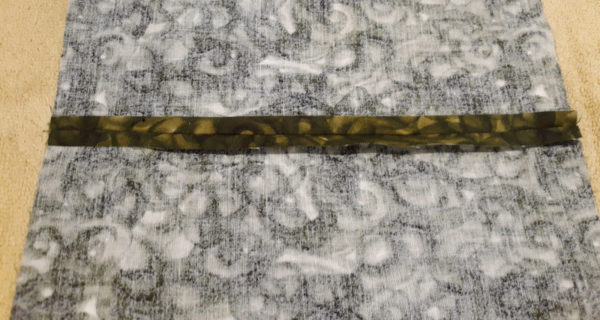
Back to the right side, top stitch just on either side of the seam to keep those seam allowances down.
With right sides together, sew the side seams. This will mean your filter opening is going to be about 1″ from the top of the mask. Turn, press and you can mark where you wish to do the pleats or just eyeball it. By the way, at this point, the bottom is just raw edges. That’s ok.
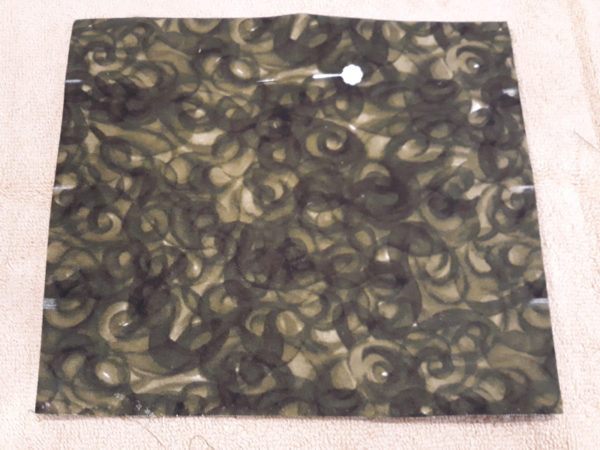
When making the pleats, make sure they’re facing downward. Your opening for the filter is on the back side but it’s at the top. You won’t need to do this but in the photo above, I put the pin over where the filter opening is so that I could use this to show you that the pleats go downward.
I mostly just eyeball it and then fold the side edges together to be sure one side isn’t way shorter than the other side.
Topstitch down both side edges to secure the pleats.
Now, all you have to do are the ties and insert the wire for bending around the nose.
If you don’t have the #25 gizmo for making “bias” tape (which I’m not making, simply fold your 1-7/8″ strip in half, crease, open up and fold both sides toward that center crease. Press, then fold the whole thing in half.
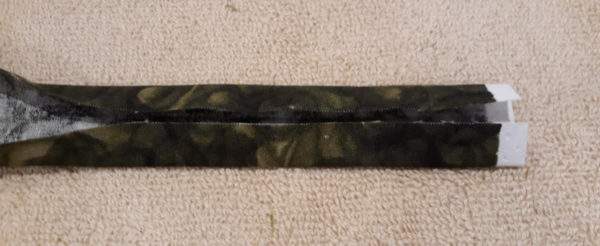
The gizmo makes it quicker but the first 25 or so masks I made were without the gizmo.
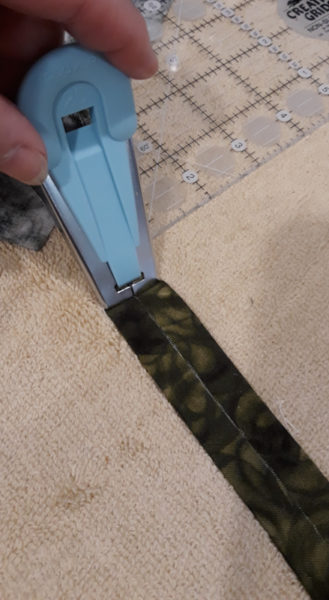
Mark the center of the mask (top) and the center of the folded strip. Tuck in the ends of the strip as you’re sewing them.
Place the twist tie with the center lined up over the center of the mask (and I eyeball the center of the twist tie.
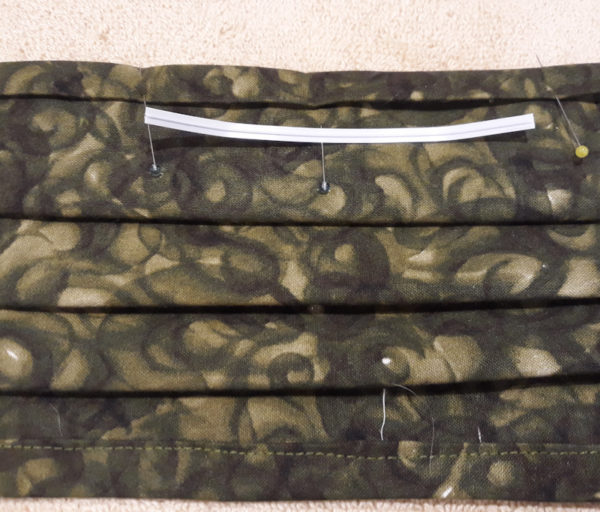
Poke the twist tie up far enough that you’re not going to sew over it. Re-pin and sew the binding on. I start at the far end (raw edge) of the binding and sew towards the mask and then across the mask and on to the other raw edge end of the tie.
Be careful when sewing. Don’t try to get so close to the edge that you run off and don’t catch the under side. The raw edges are way up at the center so you’re going to have them nailed down even if you aren’t right on the edge — Remember .. we need to get these made quickly!
You can feel where the ends of the twist tie are. Sew a little seam near the edges so they don’t go slipping to the wrong spot.
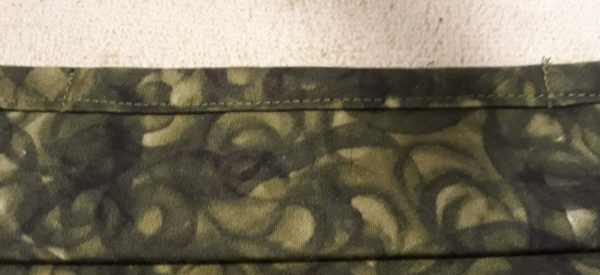
Sew the binding to the bottom the same way as the top but don’t worry about a twist tie at the bottom.
When sewing the ties to the mask, at the spot where they connect to the mask, I back tack and re-inforce the stitching because that’s where there could be a bit of stress.
Press everything and start on the second one!

Heather says
Our local hospital requested that the fabric not be the same on both sides. This way they can tell which side they had ‘out’. Probably not as critical with the pattern you are using versus some of the other ones.
Judy Laquidara says
Mine have the pocket on the back side so they’ll hopefully be able to figure it out.
Dottie says
Thanks!
Vicky says
I’ve been using pipe cleaners for the nose piece – a 2” piece for a child mask, a 3” piece for an adult mask.
Melissa says
I used your tutorial today and it was so easy to follow. I appreciated your finishing details – the top stitching made them look handmade not homemade. I’m putting them in our adult children’s Easter baskets. That sounds ridiculous but it will make for a memory none of us will forget.
Judy Laquidara says
Great idea and you never know when we might need them again. Glad the tutorial was helpful.
Amy Makson says
One strong recommendation by the local hospital and other sites… make the two sides of the mask out of different fabrics so one always knows which side goes towards the face. I make Two 7.5 X 8 inch pieces from two fabrics, join one of the 7.5 inch edges…. and continue from there. And yes, the pipe cleaner or electrical wire or some picture wire in the nose piece helps pinch around the nose. A better fit and for those with glasses less fogging. Thanks for sharing.
Karen says
As an added FYI you can also use coffee filters as a filter.
Linda in NE says
I read that someone found that the blue shop towels that come on a roll make effective filters. My hubby says they are strong and stand up to being washed.
Judy Laquidara says
I remove the filters and throw them away. I don’t wash any of the filters.
wanda jordan says
Yep I was busy yesterday making mask too. Made them for my Son in law work crew they are electricians and house. SO made them 2 each out of camo. Then had some friends my age(70) who don’t sew made them some. I spent all day doing the same and I’m not finished yet . I volunteer at a local food pantry and I’m going to try to make all of them mask for our distrubution tomorrow. Yes we are still doing it out town is closed down all but grocery store and places to eat.. Funny thing I told my hubby 2 weeks ago everyone should be wearing mask if going out . I knew they USA didn’t have enough for everyone. I keep some due to his illness. I had no idea could make them till you gave use short cut links. Thanks you saved this town. Good luck today with mask and Cat.
Judy Laquidara says
No, YOU saved the town. Thank you!
wanda jordan says
Oh pipe cleaners don’t work in washing. they are to light weight they twisted and bend to bad. I learned that the hard way. I use a floral wire that is covered. Don’t have twist ties but wonder how they hold up after washing. I was all mine after doing and put directly in plastic bags.Wash one of yours and see how it works if doesn’t wash well then really defeats the purpose of putting them in there.
Judy Laquidara says
I’ve already washed them and they’re fine. I’m using the ones that are covered in plastic, where most in the grocery store are covered in paper. I washed the first one as soon as I made it to be sure it would hold up.
Susan Nixon says
Great tutorial, Judy. You are doing a wonderful service.
Laura Deaver says
Great tutorial, thanks! I just made one, and it was fast and easy. Four more to make today.
Amy Makson says
I have been using pipe cleaners, and so researched ways to wash them other than the machine: I soaked them in 170 degree water ( Not quite boiling) with soap for 5 minutes, rinsed under running water, and was very careful ringing them not to touch the pipe cleaner. Now they are hanging in the sun to dry. Other things I read: Suspend over boiling water ( it did not say how long), put in a 158 degree oven for 30 minutes, putting them in boiling water with times ranging from 1 minute to 30! Also using bleach/water soak.. but bleach is now hard to get too. So…soap and really hot water for me with sun drying. Doing the best I can.
Judy Laquidara says
Most of mine are going to people who really will have to throw them in the washer and wash in HOT water, plus over half of mine are going to a hospital where they will get sanitized. I think for these mask, being able to take some abuse in order to be cleaned and sanitized is a priority.
Amy Makson says
I totally agree, Judy… and until I read the comment here I had no idea that the pipecleaners would have issues. The local hospital mask pattern calls for them, or electrical wire… I wish I had used the latter. I have made at least 30 with the pipecleaners so I am just letting people know what I learned.