The first one always takes longer than the rest. I have three more that just need ties and binding and then I’m going to make some from a different pattern to send my friend.
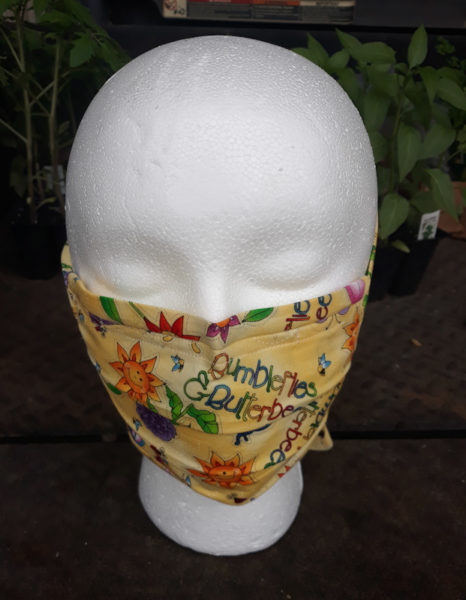
I told my friend that my cat (Boots) wouldn’t be around the masks. Shows how much I know about a cat. Try having four straps dangling and keeping a cat away!
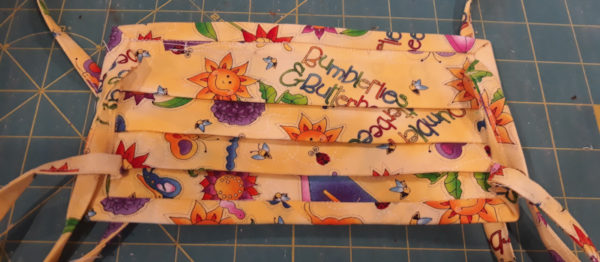
This photo shows the pocket for a filter. I stuck a paper towel in there to show. DO NOT USE A PAPER TOWEL FOR A FILTER.
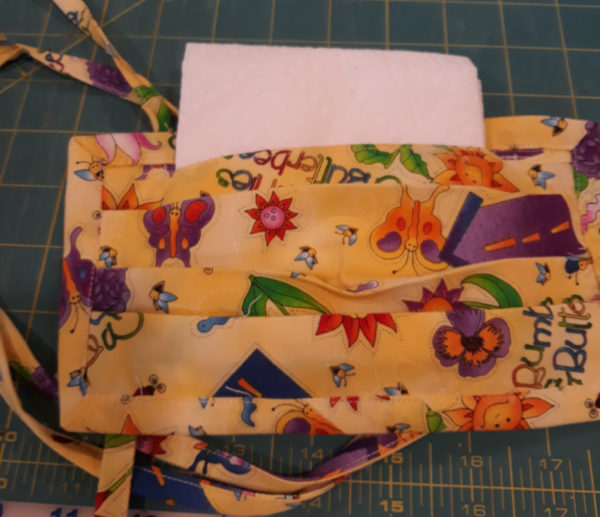
I used the pattern from this video. Someone typed it all up and I’ve mostly copied it here but changed some of the instructions for the way I did it.
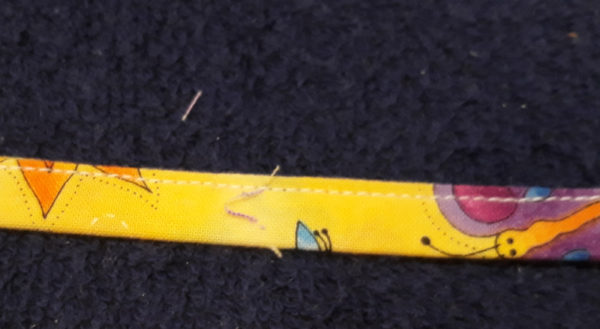
The ties were definitely the slow part. I ended up cutting 2 strips 1-1/2″ wide, across the width of the fabric, then cutting those in half so I had 4 strips that are 1-1/2″ x about 20″. I folded and pressed them in half.
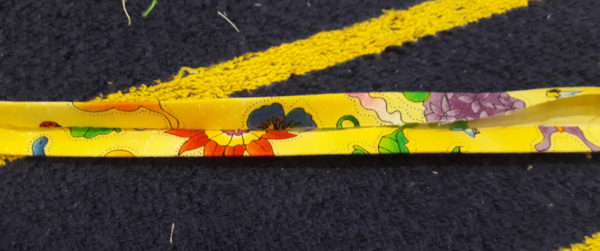
Then I brought the outside edges to the center line and stitches.
Here are the instructions – watch the video if you need help or leave a comment. Don’t forget, after the first one, they go super fast.
I’m using a bread tie that you can get from Pleasant Hill Grain. Some are using pipe cleaners. There are 2,000 for $8.99 plus shipping and their shipping is reasonable. These things are useful – we keep them here and if you think 2,000 is a lifetime supply – it isn’t! Amazon may have them in smaller quantities but be sure to get plastic, not paper.
1. Cut one piece of fabric 15″ x 7-1/2″
2. Cut one strip 2-1/2″ wide by width of fabric. There will be some waste. This does not have to be bias.
3. If using fabric ties, cut two strips of fabric, 1-1/2″ x width of fabric. Cut these in half so you have 4 strips that are about 1-1/2″ x 20″ (depending on the width of your fabric. Fold these so the raw edges are toward the center and stitch down (see photo above).
4. If using elastic, you will need two pieces of elastics about 8″ each. It needs to be narrow – 1/4″ maybe. I don’t have elastic here.
5. Fold right sides together–short edges together.
6. Mark 1-1/2″ from each edge to leave opening in the center for a filter.
7. Sew edge from the outside to mark on both sides, leaving the center open.
8. Press open seam.
9. Turn right side out and topstitch along the seam on both sides.
10. Measure 1/2 ” from the seam line.
11. Fold and press 1/4″ down to make wire tube. Stitch down and all around
12. Add the wire or pipe cleaner and stitch it closed
13. Make 3 pleats – I didn’t measure. Pin the pleats, fold the fabric to make sure the sides are even (even if the pleats aren’t), i.e., make sure the left measurement is the same as the right side measurement. Press and sew the sides – a stay stitch type just to get the pleats down without having to leave pins in there.
14. At this point you’ll either pin and sew your elastic or ties where you want them – one on each side of the right side, near the top and near the bottom. NOTE: The video shows a different way to sew the elastic. Check it if you’re using elastic.
15. Sew the binding. I’m assuming you’re all quilters and you don’t need help. Note: The video shows using bias, folded binding – different from how I did mine.
16. Finish the binding – I did it by machine by carefully pinning, then sewing from the front and catching the back.

Laura Deaver says
My quilt group was asked to make 1000 masks. The fabric is being laser cut for us, so they should be quick and easy.
Judy Laquidara says
Nice to have the fabric laser cut. I know there are lots of appreciative recipients out there.
Dottie says
The mask looks fantastic!
Judy Laquidara says
Thanks. I’m still on the fence about elastic vs. ties. I don’t think the elastic is going to hold up through many washings but the ties may be a pain in the rear for a nurse to get tied.
Linda B says
That looks amazing! Great job!
Katie says
Some of the people in my area are using hair bands, the big one that go around the whole head, not the ponytail size. They are finding them at the Dollar stores. They are heavier than just plain elastic. Nice job on the mask.
Susan Nixon says
That looks really good, and cheerful, too. I think children, and probably adults, would be happier being approached with someone with that kind of mask than someone wearing an N95 mask that makes them look like an alien.
Pamj says
Judy I found plastic ties at a place called Uline, they are located close to DFW area. Fast shipping. 1/4” Elastic found on EBay.
Found that the bias maker also works great, comes out already folded, Can just press & stitch.
Judy Laquidara says
Thanks! The hospital I’m making them for has decided they prefer the ties instead of elastic. I had ordered the twist ties already but will check Uline if I need more.
Judy Laquidara says
Good grief – Uline ties are $12 and shipping is $20. Think I’ll just wait for the Pleasant Hill Grain ties. That shipping is outrageous considering they could put it in a priority mail box for less than $10.
Kathy says
I’m using plastic coated twist ties from Lowe’s. Meant for plants. We are busy making these in the Dallas area.,
Kathy says
Forgot I’m using extra wide double fold bias tape for the ties. Had a bunch left from a prior project.
Judy Laquidara says
Good idea on those. We may have some of those too. Thanks.