Making bread is not difficult! Here’s a start to finish post about how I make bread.
The Recipe:
I use Amish White Bread. It’s easy. It’s forgiving. It’s about fail-proof. I do it all by hand. I love the hand kneading process. Kneading by hand, I have a much better feel for how the gluten is developing and how the bread is shaping up.
The Ingredients:
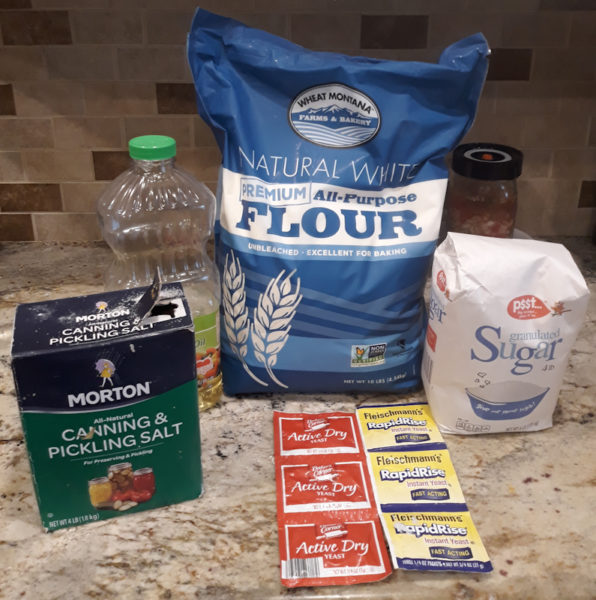
This recipe needs flour, salt, yeast, sugar, oil and water.
Flour – I would normally use bread flour, which has a bit more protein. Bread flour has more protein and produces more gluten, for a more chewy, less cakey bread. Honestly, I can’t tell a huge difference. All purpose flour has about 8 – 11% protein while bread flour has about 12 – 14% protein. At the current time, bread flour is harder to find than is all purpose so all purpose is all I have here. You’ll see below that it worked just fine.
Salt – Supposedly, salt can slow yeast activity so they say to add salt later in the process. I haven’t ever noticed that it makes much difference. I do think it’s important to use a non-iodized salt. Sea salt should work. I use canning salt because it has no anti-caking additions, nor does it have iodine and I keep it on hand. I used iodized salt for years because I didn’t know I shouldn’t and my bread was fine.
Yeast – There’s active, dry yeast and fast acting or Rapid Rise yeast. With active, dry yeast, it’s usually stirred into warm water (about 100 – 105 degrees), sometimes with a bit of sugar. This will “activate” it and you will see it bubble and foam. I usually use fast acting yeast. It is usually added to the dry ingredients and the liquid can be added at about 120 degrees. Because there’s usually 1/4 to 1/2 cup of water to activate the active, dry yeast, if you’re substituting fast acting yeast, you may need to add a bit more water to the recipe.
Sugar and oil – plain sugar and most any oil should do.
The Process:
First, I put the flour, yeast (remember I’m using fast acting), and salt in a bowl.
I put the water in a pot and heat it. It doesn’t have to be really hot. Stir in the sugar til it dissolves, then add the oil. Take the temp of the water mixture and when it’s down to about 120, I add the water mixture to the flour mix.
NOTE: If using active, dry yeast, you will dissolve the sugar in the warm water, stir, allow the yeast to activate – get foamy in the water. Then add the salt and oil per the recipe. In my opinion, I’d add the salt to the flour mixture and not add it to the yeast mixture.
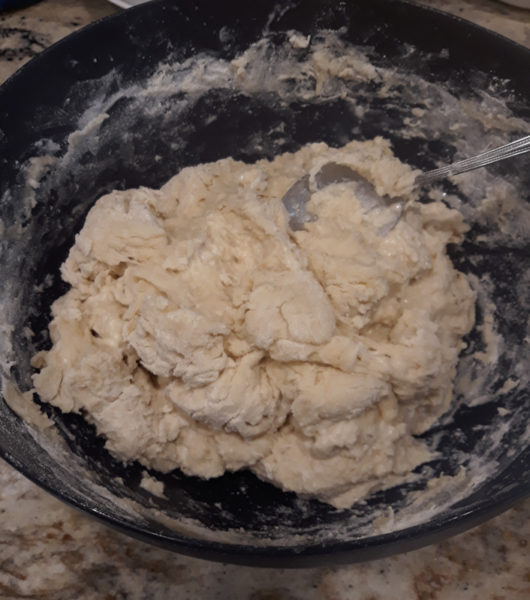
Stir it all together. It’s going to be shaggy and it should be sticky. It takes a bit of kneading for the gluten to develop and for the flour to absorb the water so if your dough is dry at this point, you’re going to have a dry, crumbly bread. Keep it stick at first but as you knead it, you’ll notice that the dough begins to get silky and smooth.
Don’t fret! This all comes with experience and how do you get experience? By making bread over and over again. Continue adding flour to the surface and to your hands, just a little at a time, and kneading until the dough is smooth.
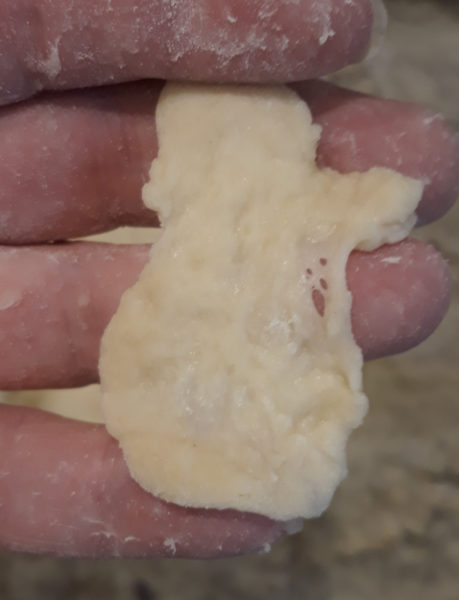
There’s a “windowpane test” where you stretch the dough. You might want to try this early on just as you start kneading. Just grab a little hunk of dough — about a tablespoon of dough. Gently stretch and pull it. It will just tear and break. Put it back with the rest of the dough and continue kneading.
Once the gluten has developed, and the dough is feeling smooth, try it again. When the gluten is sufficiently developed, you should be able to gently stretch the dough until you can actually see through it without it tearing. It’s hard to see in my photo above but I can get the dough thin enough to see through without it tearing.
Shaping the Loaf:
There are many ways to shape a loaf. I pat mine out to a rectangle, then roll it up.
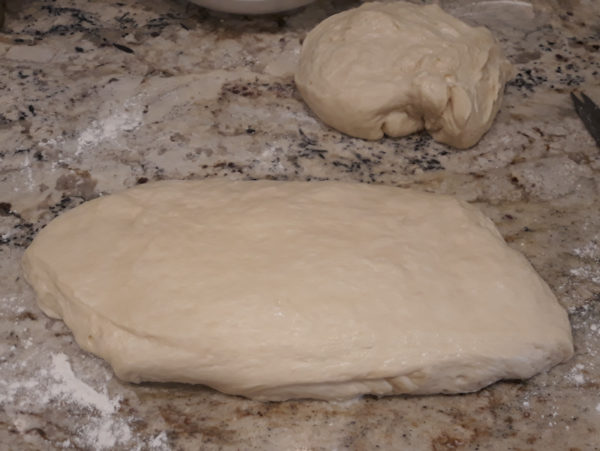
I make it just a bit longer than the pan I’m going to use for baking, then turn the ends under.
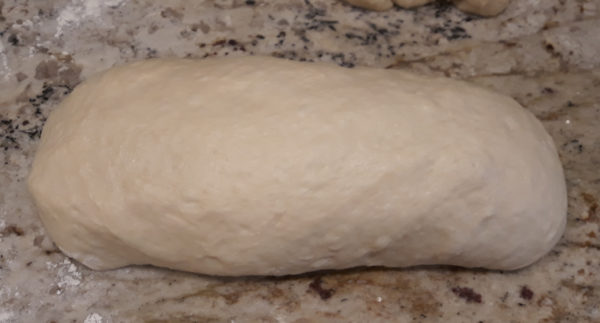
I don’t get real fired up about making pretty bread. I just want it to taste good and I’m not entering a bread baking contest.
The Rise:
I place the dough log into a greased pan. My favorite pan is the cast iron loaf pan but it’s short. This recipe makes two loaves and if I were using all of the Lodge cast iron loaf pans, I’d need three of them. I have one! So, I sill usually use the cast iron for a short loaf and a longer loaf pan for about 2/3 of the dough.
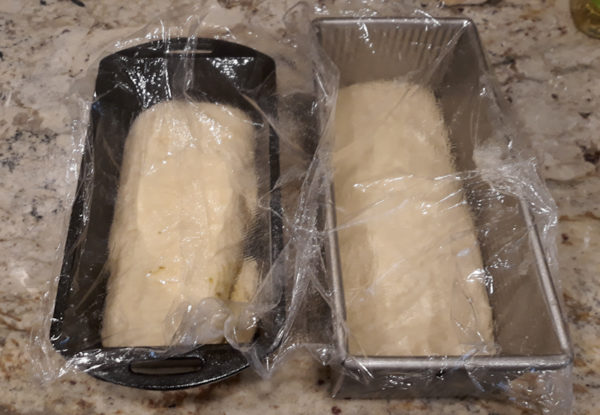
I spread out a piece of plastic wrap, evil as that stuff is, oil one side and place the oiled side over the dough. Give it some slack! I make small tucks in it so the dough can expand. If you keep the plastic wrap tight, the dough cannot rise sufficiently.
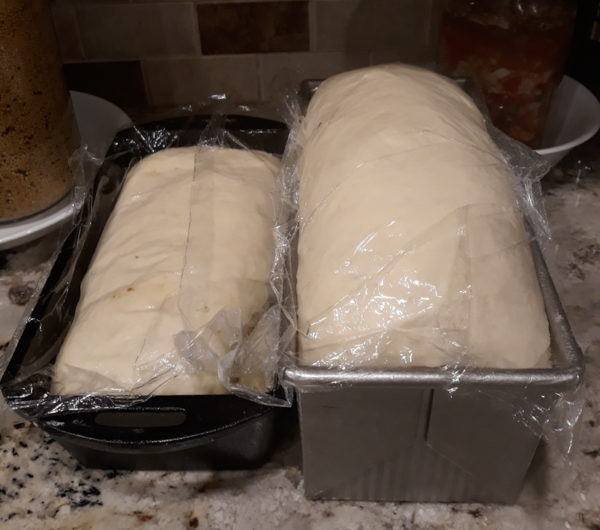
One it has risen sufficiently, gently remove the plastic wrap and carefully place the pans in the preheated oven. If you are rough with it, the dough can “fall” and be flat so treat it like it is . . fragile!
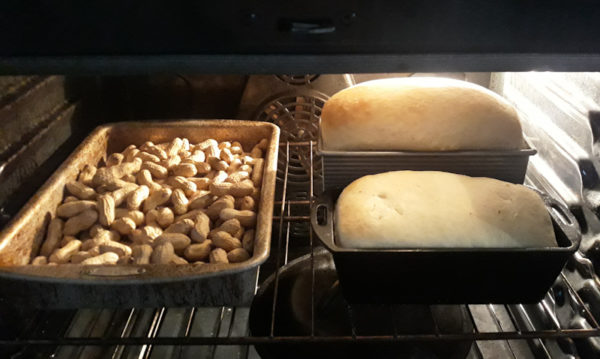
When I use the oven, I try to fill it up so I roasted peanuts while the bread was baking.
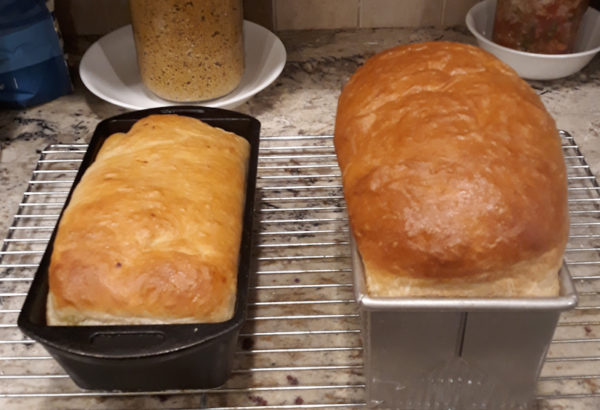
Once it’s done, remove to a rack and let it cool in the pan for a few minutes. If you aren’t sure when it’s done, you can use a thermometer. The internal temp should be between 190 and 210 degrees. Or, you can use the old toothpick test. Stick a toothpick in the thickest area and if the toothpick comes out clean, it’s done.
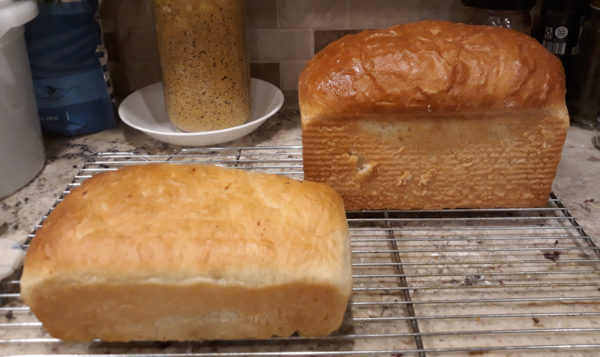
Remove from the pan and let it continue to cool. Expert bread bakers will wait for the bread to cool completely before slicing. I am not an expert bread baker. I’ve never gotten to the point where I can walk away! I need a slice when it’s fresh out of the oven.
Two Loaves:
The recipe makes two nice size loaves. The read will keep for days in the fridge, maybe weeks i n the freezer but we use it before it ever needs to go in the freezer.
But, if you don’t want to make two loaves, this dough is great for so many things.
Cinnamon rolls work great with this dough. Roll the dough into about a 1/2″ to 3/4″ rectangle. Spread with a bit of soft or melted butter. Mix up sugar/cinnamon in whatever proportions you like. Sprinkle it over the buttered surface. Roll it up and pinch the seam together. Using a serrated knife, or some like to use a string, cut it into about 1-1/4″ slices. Place those in a greased 9 x 13 baking dish. You can leave just a tiny bit of space between them – less than a finger’s space. If you want them a bit gooey, pour about 1/2 to 3/4 cup of heavy cream around the spaces. Cover, let rise. Uncover, bake, and once they’re cool, ice with a powdered sugar/cream/butter/vanilla icing.
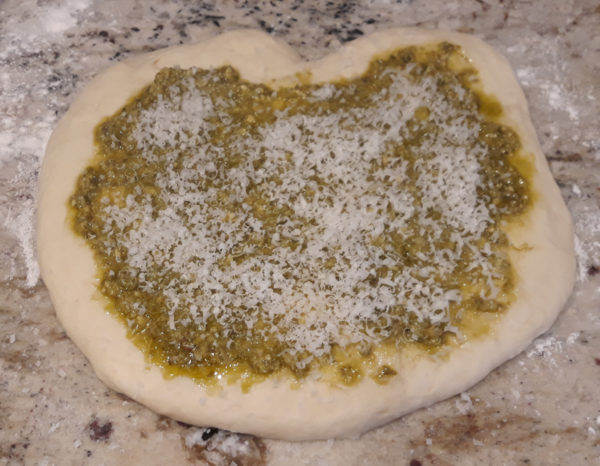
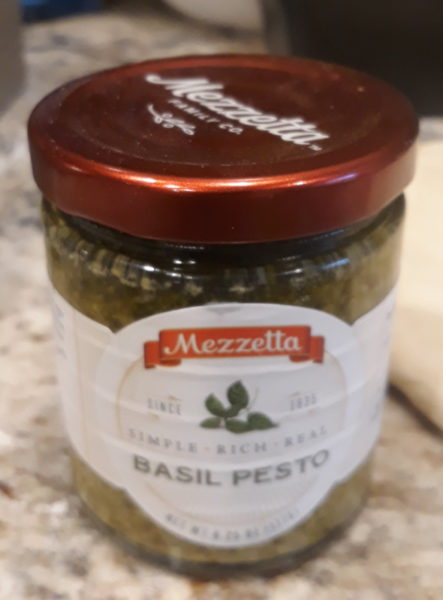
Another option is to roll it out into a rectangle and spread anything you want on it! Today I spread pesto from a jar over it.
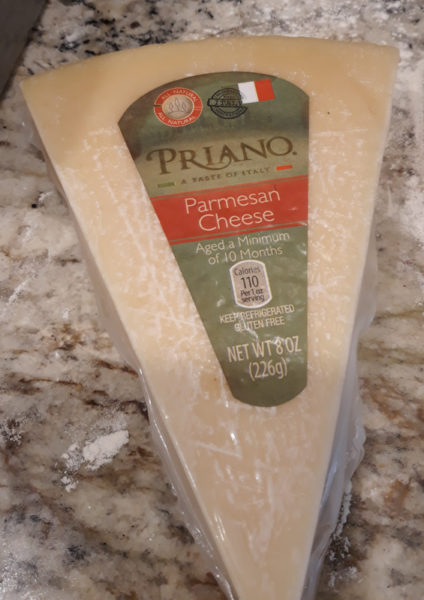
Then I sprinkled grated Parmesan cheese over it.
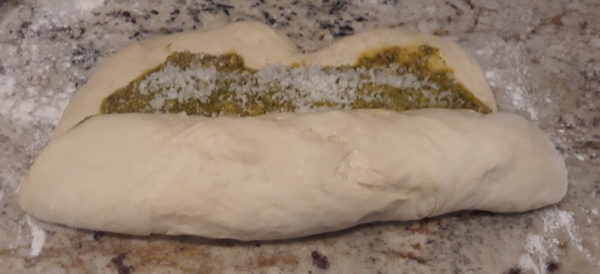
I rolled it up just like I would a cinnamon roll.
Then it was placed in the pan to rise just like the plain loaf.
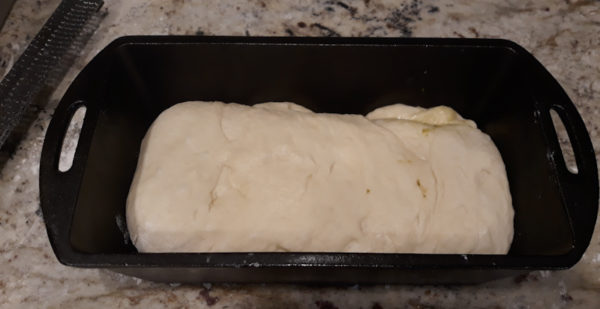
The rising and baking are the same.
You can add anything you want – chopped pepperoni/mozzarella cheese or sliced olives/Parmesan. You could add pizza sauce to the pepperoni. Get creative!
The End Result:
Well, the end result is our keto diet is going to be front and center once the stress of this virus is behind us. But the other end result is this:
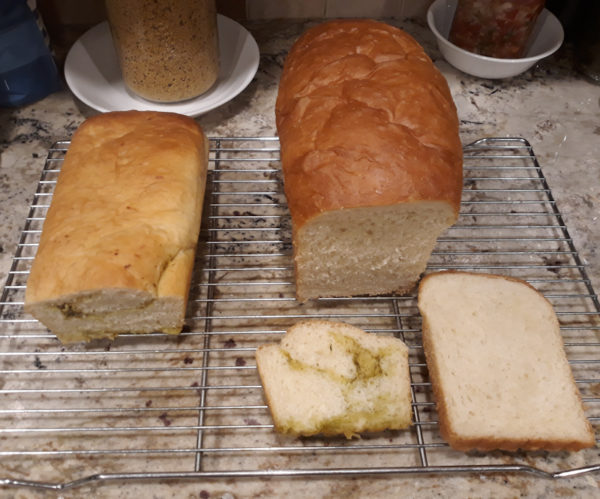
I only tried the pesto bread and it’s probably my favorite of all the things I’ve made lately.
This bread is so good for grilled cheese sandwiches, as well as for croutons. Simply cut the bread into cubes, toss with a bit of melted butter, sprinkle with herbs and bake til crunchy. Add those to homemade tomato soup. Oh, I think I know what I’m making this week.
Don’t Forget the Bags:
Once you’ve made these big loaves of bread, what are you going to do with them? They won’t fit in the average gallon size zipper bags.
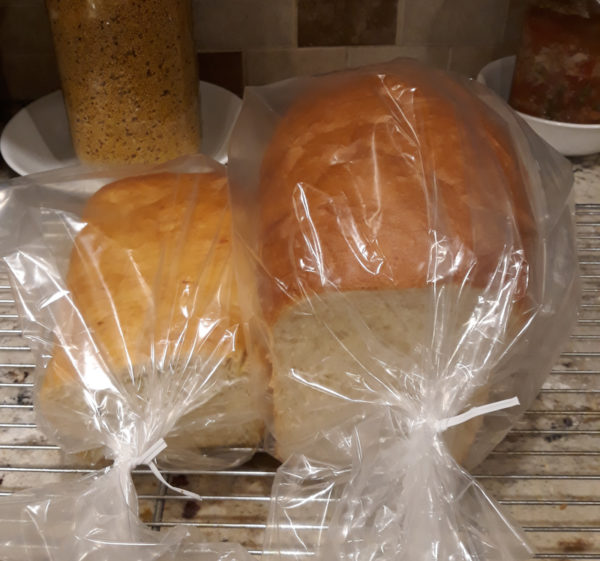
These are the ones I bought last. They do not come with the twist ties. These come with ties.
That’s about all there is to it! It sounds way harder than it is . . really! If you have questions, please let me know!

Carol C says
this is a great post. lots of details covered, my issue is the kneading. I’ve never “gotten” that part and consequently the texture is not good. my husband makes great bread, rolls and cinnamon rolls so he’s the baker for Christmas, family events, etc. He grew up in a house with 6 kids and his mother made all their bread so he learned from her. So I just let him do it and that gives me more time for other cooking especially when we are having family over. But I’d like to turn out a decent loaf!
Ruth says
I compared this Amish bread recipe to the one I make, two loaves vs. 6 loaves. Mine uses 1/2 c. sugar, 5 c. warm water, 2 T. yeast, 1 T. salt (any kind), 1/2 c. oil, shortening or butter, 11-12 c. flour, more if it’s a rainy day. Sometimes I add an egg, or 1/4 c. buttermilk powder or powdered milk for a slightly different flavor. Bake at 350 degrees for 35-37 min.
I freeze the extra 4 loaves (we usually eat one that day, and the next loaf sits out ready for the next day.) I ADORE using plastic wrap instead of a damp dishcloth to cover the bread while raising!!! I don’t oil it at all. I even save it and reuse it for the second raising, and later for other bowl coverings. Oh, the number of times I’ve had to scrape risen bread dough off the cloth when I’ve forgotten to check on the first dough raising, since I do it in the oven with a pan of hot water below. But no more!!
I like your ideas on making other things with the Amish Bread recipe. I think I’ll try the pesto flavor loaf! Thanks for the bread-making tutorial.
Susan Nixon says
I was wondering about the keto issue. In a crisis, we need comfort food! I think I’ll go butter some toast – not homemade. =)