This is one of those posts that I almost hate to write because it takes so long to write/read, I’m afraid it will discourage folks from wanting to try to make this amazing bread. It’s a slow process but not even really time consuming, and so worth the effort so if you halfway think you’d like to try it, please do it. You will be surprised because it isn’t hard and so worth the effort.
Salt rising bread is made without yeast. It is thought to have originated in the Appalachian area. Here’s a good story about it. I first heard about it in Kentucky and, of course, had to try to make it. I don’t think I’ve ever had an unsuccessful batch . . it’s pretty easy and fail proof.
It has a very dense texture and an amazing “stinky” cheese flavor. It makes the best toasting bread and I love grilled cheese sandwiches made with this bread.
I’ve written several blog posts through the years about salt rising bread and I’ll link to those at the end of this post. There are several variations of the recipe, some are very different from the recipe I’ve used through the years. I love the recipe I use so I’m not tempted to experiment but you may want to try a recipe different from mine.
King Arthur has an informative article here . . the tricky part for an experienced bread maker is probably keeping the starter at the right temp. I use this proofer. It’s fool proof, folds and takes up almost no space. I use it often so even though it’s a bit expensive, I’ve had it for two years and have used it a whole lot. In the winter our house is too cool for bread to rise and even in the summer, inside isn’t warm enough for the high temp needed for the incubation of the salt rising starter.
Here’s a synopsis of how I make salt rising bread. This recipe will make three 2+ pound loaves of bread. I usually make one or two and freeze the rest of the dough.
Ingredients:
For the Starter:
2 – 3 potatoes, washed and thinly sliced
1/4 cup whole grain cornmeal (see note below)
2 T. sugar
1 tsp. salt
1 quart warm water
For the Sponge:
1-1/2 cups whole milk, scalded
1/4 tsp. baking soda
4 cups flour
For the Dough:
7 T. shortening
2-1/2 tsp. salt
4 – 6 cups flour
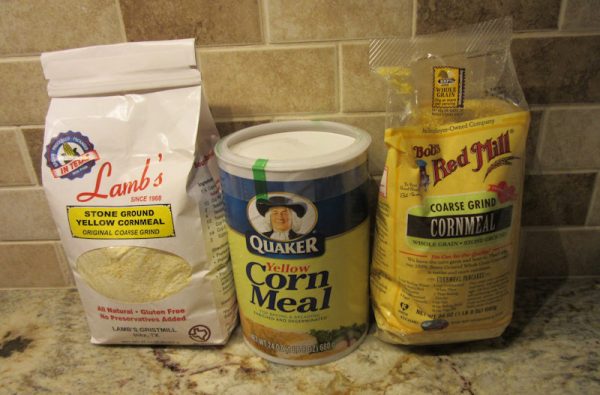
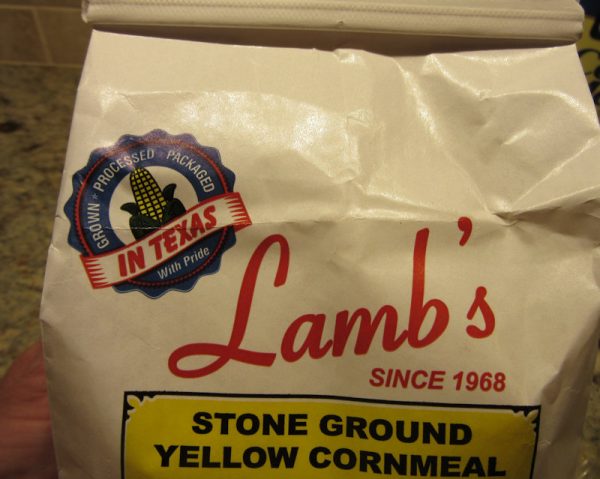
Note about the cornmeal. You MUST have whole grain cornmeal. Almost all commercially milled cornmeal has the germ removed. The Quaker cornmeal that we’re probably most familiar with is degerminated and will not work. Bob’s Red Mill is whole grain and so is Lamb’s.
Of course, Lamb’s is best because . .
I normally grind my own corn but we didn’t grown corn this year so I’m having to buy cornmeal and was thrilled to find Lamb’s at our local United.
Procedure for making the bread:
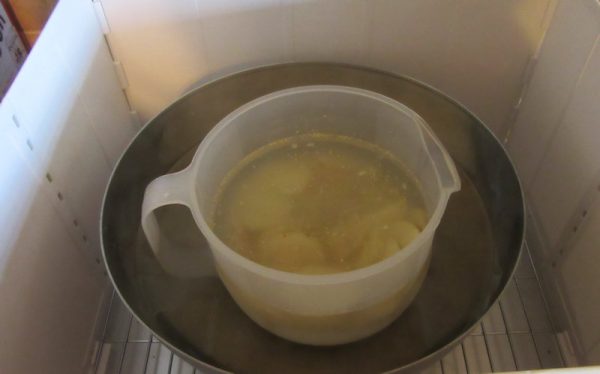
1. Slice the potatoes into a container that you can put into another container filled with hot water. The potato mixture is going to expand and get foamy so use a larger bowl than you think you need. To the potatoes, add the cornmeal, sugar, salt, and 1 quart warm water.
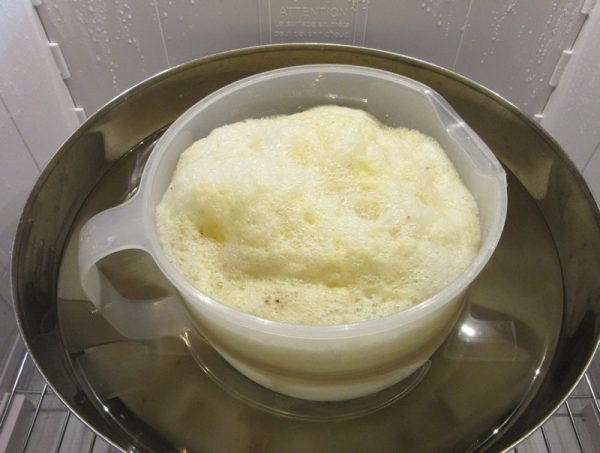
2. Place the container with the potato mixture into another bowl and pour hot water into the outer bowl. Keep this mixture at close to 100º for 16 – 24 hours, until it gets bubbly, foamy and you can smell the “stinky” cheese smell. Change out the water several times . . dumping the old water and adding fresh hot water. (or you can re-heat the water — you’re not getting rid of old water, just keeping it warm)
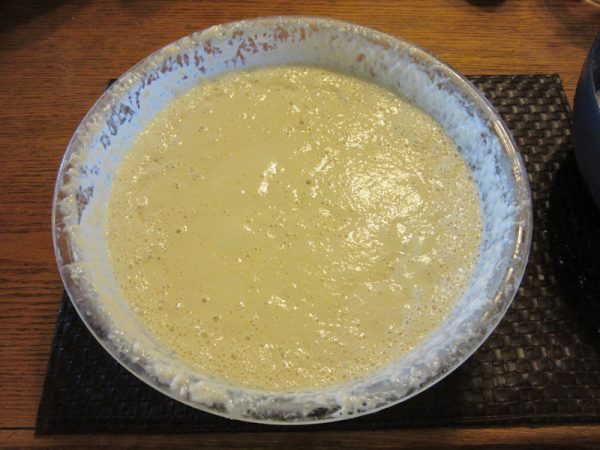
3. Once it’s foamy, fish out the potatoes. Leave as much of the cormeal in as possible. Don’t worry about a few grains but you want to keep the cornmeal. Throw out the potatoes. Using a very large bowl (this grows too), to the starter liquid, add the scalded milk (which I cool down to about 105 – 110º), 1/4 tsp. baking soda and 4 cups flour. Stir with a wooden spoon or whisk and get as many lumps out as possible. Cover with plastic wrap and put the container back over a bowl or pot of warm water. This also needs to become foamy and bubbly. It could take 1-1/2 hours to 3 hours.
4. As far as the stirring/kneading, this dough doesn’t fit into a normal Kitchen Aid mixer. It will fit into my big Bosch mixer and probably any of the really large mixers but I usually stir it by hand. It isn’t hard and it makes me feel more “in tune” with my bread.
In a large bowl, add 4 cups of flour, 7 T. shortening and 2-1/2 tsp. salt. Using a pastry cutter, forks or your fingers, work the shortening into the flour as you would if you were making a pie crust. Combine the flour mixture with the sponge. Add flour as needed. It can take 4 – 6 cups of additional flour.
Stir until you can no longer stir, turn onto a floured surface and knead til smooth
I end up with about a 6 pound ball of dough so I divide it into 3 balls and then work those individually as the smaller portions are easier for me to work with.
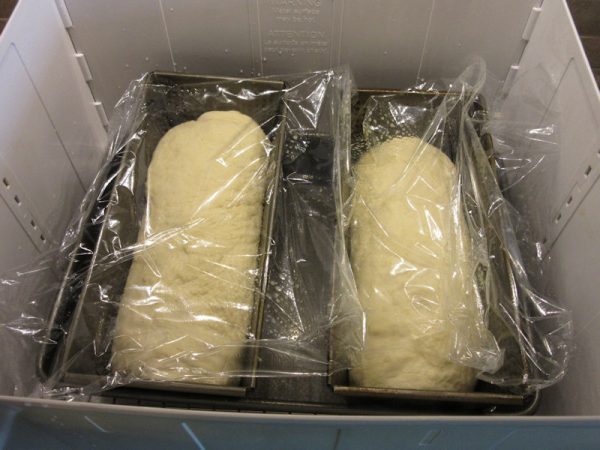
Shape into three loaves (or freeze some of the dough). Place into well greased pans, let rise til about 1″ above sides of pan. I place mine back in the proofer over a pan of hot water. During the entire process . . start to finish, I keep my proofer set at 99º.
I usually bake two loaves and freeze one ball of dough. The next time I make the bread, I’ll make a whole batch again, then freeze another ball, and then the third time, I’ll take the two frozen balls out and make bread from those. Or, you could freeze two and make one – whatever works for you.
Bake in a preheated 350º oven for 40 – 50 minutes.
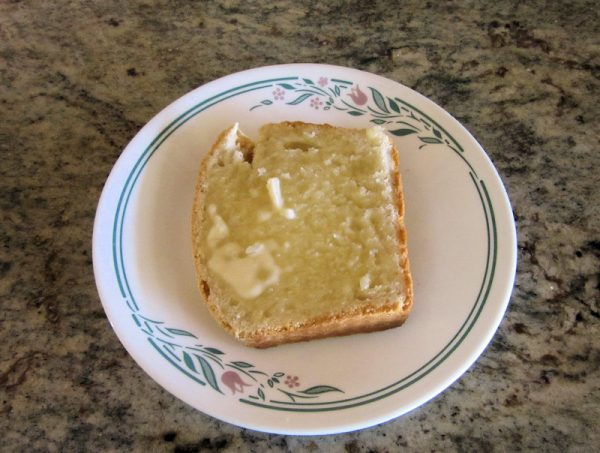
I was a bad girl and didn’t wait for it to cool before slicing off a piece, slathering it in butter and gobbling it down. Yum! I like this bread, overall, better than any other bread I bake.
Here are links from older blog posts where I talked about salt rising bread. A lot of it is repeated in this post. As always, please leave a comment if you have questions.
Salt Rising Bread post from 2009
Salt Rising Bread post from 2014

Toni in TN says
In my hometown of Salisbury NC one of the bakeries had a gentleman who came in once or twice a week to make salt risin’ bread. It’s been over fifty years but my eyes roll at the taste of that bread. You’re right in that it does make the BEST toast. I need to try this!! Thanks for sharing.
Regina says
Thanks so much – we hail from the northern end of Appalachia (western NY) and this is a family favorite. I haven’t tried making it myself, but with these directions I just might.
Sherrill says
That really looks good but there is NO WAY I’m making it! I’d totally mess it up and, again, there’s just me! Sure don’t need it but it looks yummy.
sharon says
Do you think this would work with soy or a nut milk?
Joan from Alaska says
Oh, Judy, this sounds wonderful! I am definitely going to give it a try! I do have a question for you: I don’t have a proofer, but I do have a warming drawer with a proof setting that I use to rise all my bread. If I put the salt starter and bread in that, do you think I still need to use the hot water? Is the water just for heat, or does the bread need the extra moisture while rising? Thanks!
Sandra says
Is the proof er electric?? Sounds wonderful!
JudyL says
Yes, it is.