Ruth left a very good comment on my post about using rectangles instead of squares to make the pieced borders fit.
This means that each of these solid blocks will be barely 1/4″ longer on one side than the other. Having worked with blocks this size, I can tell you that you need to be very VERY careful which side of the block you attach! Because if you use the “short” side, the strip will be too short, and you will curse (politely) under your breath. Then the seam ripper will come out and as it works, you will wonder how to keep from doing the same thing again and again. Maybe if there was a faint directional pattern in the block and they were all cut facing the same way….
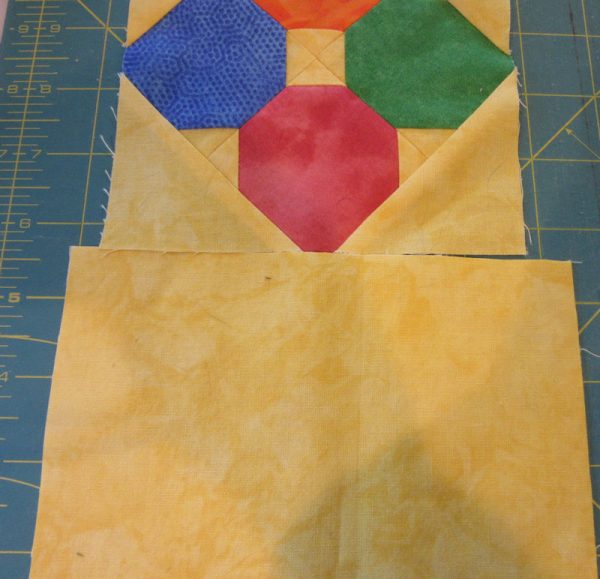
She is so right and often, when using a pieced square that has bias edges, and a rectangle solid block that is just a tad not square (5-1/2″ x 5-7/8″), it’s so easy to stretch the pieced block to fit the longer side of the solid block that you don’t even realize you’re doing it.
Here’s how I handle that potential problem and yes, I have had it happen!
- Cut the strip 5-1/2″.
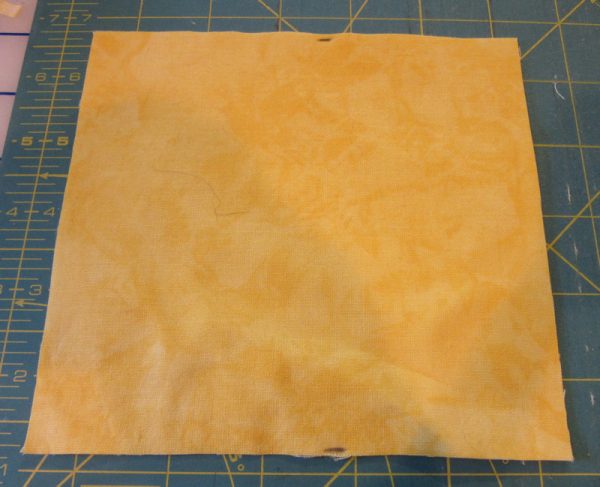
- Go back and cut the strip into 5-7/8″ rectangles and as I cut each piece, I put a tiny mark along the “wrong” edges so that I know that’s the edge that does not get sewn to the block.
Often, the non-pieced squares are cut just a little bigger and it’s obvious, but for those times when it’s so close, you may think you can eyeball it and fit the block to the right side, but I’m telling you . . it won’t always happen.
On this particular quilt, the top and bottom borders have the non-pieced “squares” cut at 5-1/2″ x 6-1/2″. I won’t have to mark those because I can easily see the difference but any time I’m not 100% sure I can grab a block and right off the bat know which way it will go, I do some kind of marking to let me know.
Ripping back is not fun and I manage to do way too much of that.
Thanks, Ruth, for bringing up that point!


