Today we will work on the side setting triangles. I’m going to deviate from the plan just a little and this will be the last instructions til next Friday. There are 10 blocks to make and with Christmas, this will give you a little extra time and we’ll still be finished just after New Year’s.
Pull out the extra squares made in Step 9. There were 4 of one and 6 of another. The 4 will go on the top and bottom of the quilt and the 6 will go along the sides. They will all be put together the same way but pay attention when placing them in the quilt.
Fabric 3 – Cut 15 – 3-7/8″ squares. Cut them on the diagonal once to yield 30 triangles.
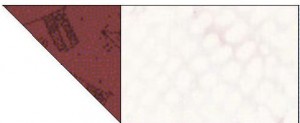
Fabric 5 – Cut 20 – 3-1/2″ x 5″ rectangles.
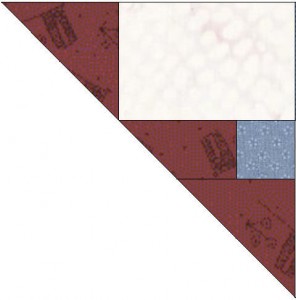
Make 10 of these. The Fabric 3 square in the piece from Step 9 will stay in the same position.
Make 10 of these.
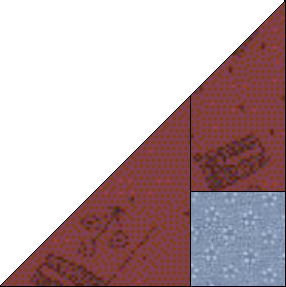
Fabric 2 – Cut 10 – 2″ squares.
Fabric 3 – Cut 10 – 2″ x 4-1/4″ rectangles.
Sew the Fabric 3 rectangle to the Fabric 2 square. Then align the Fabric 3 triangle as shown below. Once the pieces are sewn together, trim the bottom of the Fabric 3 rectangle so that it’s at a 45 degree angle and lines up with the larger triangle.
Sew the two pieces together.
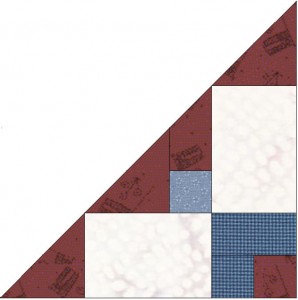
Complete the blocks.
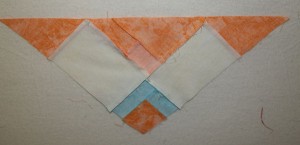
As for pressing, here’s a photo of the back of my block which should be easier to follow than written instructions.


Sue K says
I’m confused. I think the red triangles on the second set of white rectangles have to face the opposite direction so they mirror the other side of the full setting triangle. I did them the way you show, but the point goes the wrong direction. I’m currently un-stitching 🙁
Beverley Tekben says
I am totally confused. I may have cut the 5×31/2 rectangles wrong. Plus my triangles are too big. My mind must be fussy today.
Susan says
Ack! I’m falling behind! I will have to catch up the week after Christmas.
Barb in MI says
Just finished step 12 – thanks so much! Have to admit I mainly followed the pictures and not the text… I guess that means I am in vacation mode and can’t follow instructions 😉