Last night I began googling “tubular cast on” and came up with several web pages and youtube videos. Anyone who knits socks from the top down really should at least try this method. It makes the most amazingly smooth and finishing looking edge! I plan to use this method for all my socks.
At first, it’s a bit confusing and “fiddly” but once I got it, it’s so easy and even though a bit of waste yarn is used and then thrown out, and it takes a few minutes to knit a couple of rows that will be ripped off, I believe it’s worth it.
This is the video I decided made more sense to me. I didn’t actually try it til this morning and after thinking about it a while, I realized that it might be a bit different for socks. It isn’t really but reading this tutorial helped. I got it right the first time I tried it so you know .. it can’t be too hard! At the bottom of this post, I’ll give you a few tips that helped me.
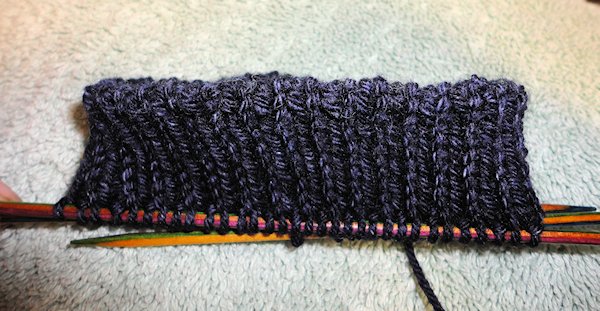
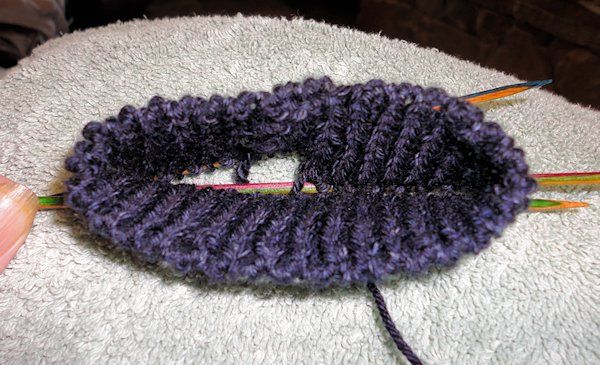
Can you see how nice the top edge of this sock looks?
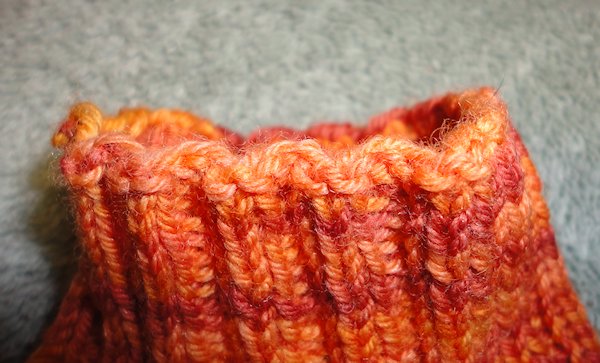
This is what the top of my typical long tail cast on socks looks like. It isn’t bad and it’s pretty common but after seeing and feeling the edge made using the tubular cast on method, I don’t think I’ll have any more of these type tops.
I’m so impressed with how easy and pretty this edge looks!
Tips that helped me get this right:
- I use four needles when knitting socks (three with yarn and one for working). These particular socks required 64 stitches so I had 32 on the needles initially. It was a bit tight, especially when picking up the purl bumps so I divided the yarn across four needles and worked with a 5th.
- If it’s still tight, when picking up the purl bump, it was sometimes easier to use another needle to pick up the purl bumps.
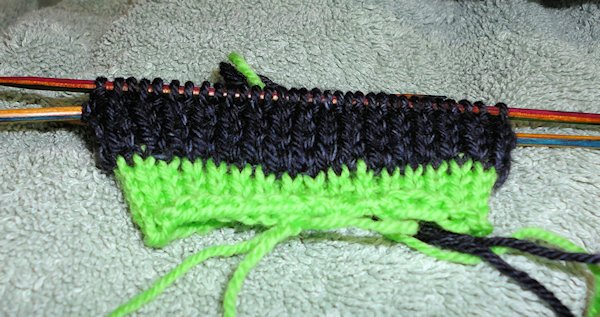
- Because the “real” sock doesn’t start til you add your working yarn, where I actually started with the real sock doesn’t matter. I found that having all the stops/starts at the same spot was confusing. I had 16/32/16 stitches on the needles. Instead of starting the blue yarn in the same place I started the green yarn (in between the two 16 stitch points), I started the blue yarn in the middle of the 32 stitch needle. Once the green yarn was removed, it didn’t matter. I still had 16/32/16 stitches on the needles but it was a different configuration from where it was with the green yarn. I’m betting this makes no sense at all while reading it but maybe once you start knitting, it will make sense.
- Not sure this picture helps but you can see the green/blue yarns. The green is the waste that is eventually removed.
Please don’t be frightened by my tips and photos. This really is so easy and such an improved way to cast on.


lynne quinsland says
gonna try it! thanks for the share!
Janet says
I also tried tubular cast on last night, after reading your post. I,too, love it! Thanks, Judy- you go girl!
Linda in TX says
Okay – you convinced me. I copied all the links and printed everything printable. Thanks for knowing how backwards I am at new stuff!
Peg H says
OMG. What on earth are you talking about?!?!? :-0
Karen Langseth says
This is exactly why I like crocheting….one needle/hook…..this multiple needle thing confuses me. I can knit but just don’t prefer it.
m says
I use two circs so I didn’t really follow what you were saying. I do like the edge, but it sounds like it will only work with dpns.
JudyL says
It works on all methods. If you’ll click on the links, one of them shows it with the magic loop.
Mel Meister says
sorry Judy, I didn’t get my name in the first post.
Diana in RR, TX says
Great explanation! Will bookmark it. Hopefully will find some time to start knitting again!
Erin says
I too will try that! Thanks for the tips and short cuts etc.. It does look nice!
Becky G says
Thanks! I learned tubular cast on from Charlene Schurch’s Hat’s On book, but I haven’t thought to use on socks. I typically use the German longtail cast on for socks…. But now I will give the tubular cast on a go with my next pair. Thanks again.