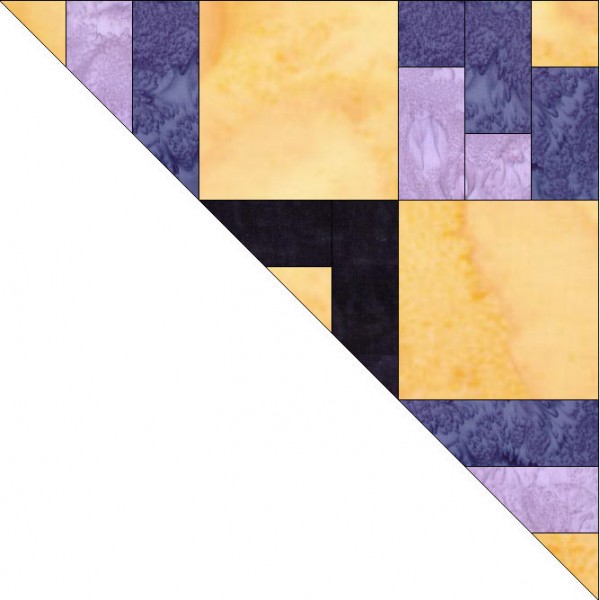
Today we’re going to do the components for the side and corner setting triangles. We’ll need 14 side triangles and 4 corner triangles. Today we’re only going to work on the components for the block. This is the side block, but we won’t be putting it together today . . just wanted you to see where we’re headed.
1. Fabric 2 – Cut 1 – 2″ strip. Cut it into 7 – 2″ squares. Cut those on the diagonal once to yield 14 triangles.
2. Fabric 5 – Cut 3 – 1-1/2″ strips. Cut 14 strips that are “about” 3-1/4″ long. Cut 14 that are about 4-1/4″ long. (Depending on how you cut your rectangles, you may end up needing a 4th strip.)
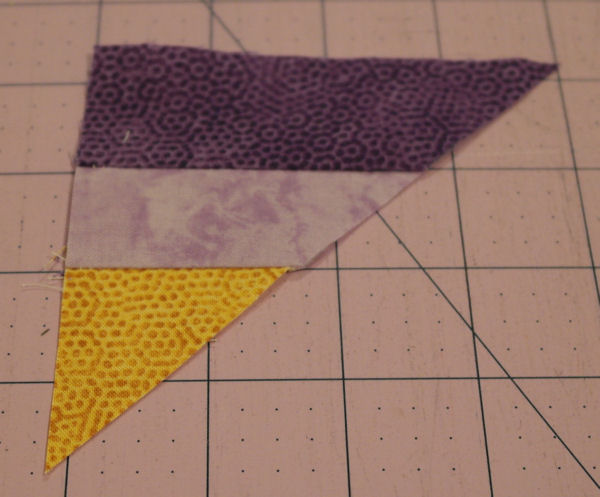
3. Sew the 3-1/4″ strip to the top of the triangle as shown below. Make 14 of these little triangle units.
4. Sew the 4-1/4″ strip to the side as shown below.
5. Your piece will look like this:
6. Using your 45 degree line on your ruler, trim the triangle so it looks like this:
7. We’re going to make this piece next:
I’ve tried my best to come up with a way to strip piece these and cut them without a lot of waste and I couldn’t so we’re going to cut little pieces and sew them together! Sorry!
Fabric 2: Cut 1 – 2″ strip. Cut it into 18 – 2″ squares. Cut those on the diagonal once to yield 36 triangles.
Fabric 3: Cut 3 – 1-1/2″ strips. Cut those into 36 – 1-1/2″ x 3-1/4″ rectangles.
Fabric 4: Cut 4 – 1-1/2″ strips. Cut those into 36 – 1-1/2″ x 4-1/4″ rectangles.
Sew 18 those together into a piece that looks like this:
And sew 18 together that look like this:

Road to Llano
Use your ruler to trim them along the 45 degree line:
They should look like this.
Next step, we’ll put these together to make the setting triangles and corner triangles.


Susan says
Love the way you think!
johnniek says
I love this pattern, making it with these colors, then have the material in soft colors to make for a dear lady friend.